Slow cooker Low vs High is mainly a choice about how long you can give the food, not a way to make the finished meal “safer” by turning a dial higher. Choose Low for a long, unhurried cook and High when your recipe and your appliance allow a shorter one. Follow a time written for your particular model where possible, then check the food itself before serving. There is no reliable rule that every Low time becomes exactly half as long on High.
Quick decision: If you have most of the day, use the recipe’s Low time for a stew, casserole or tough cut. If dinner is sooner, use its stated High time, not a number calculated from a generic multiplier. If the recipe lists only one setting, use your model’s manual as a starting point and check doneness; do not use Keep Warm to finish cooking. A cold, crowded pot or repeated lid lifting can push either setting beyond the printed time.
In This Article
- Slow cooker Low vs High: what actually changes
- When to choose Low or High
- Cooking-time examples from two UK manuals
- How to change a recipe from Low to High
- Why the same setting can take longer
- Food safety, Keep Warm and delayed starts
- The choice in practice
- Frequently Asked Questions
Slow cooker Low vs High: what actually changes
The settings change the route through the cook
Low gives a meal a longer cooking window. High gets it cooking more quickly. That sounds obvious, but it matters because the labels are not a pair of standard temperatures shared by every appliance. Morphy Richards’ UK support guidance says its traditional slow cookers reach the same final temperature and that Low, Medium and High change how quickly they get there. That is a statement about Morphy Richards models, not a licence to assume every slow cooker has the same thermostat or heating pattern. The Crock-Pot CSC052X manual presents Low and High as settings with their own recipe times; it does not supply one universal degree-Celsius value for each.
The practical consequence is that a setting is only one part of the cooking method. The amount and starting temperature of food, the size of the pieces, the recipe’s liquid and how often the lid is opened all change the time needed. A dial marked High does not tell you that every point in a large casserole has already cooked through. Nor does Low mean the cooker never gets hot enough when used as instructed: it means you need to allow its longer recommended time and check the result.
We would treat the recipe and the appliance manual as a matched pair. A time developed for a 3.5-litre cooker may be a useful clue in a different-sized machine, but it is not a guarantee. If your main problem is deciding how much food fits rather than which setting to use, the slow cooker size guide covers working capacity and portions.
Keep Warm is a third job, not a slower Low
On a cooker with a Warm function, the distinction is important. The CSC052X instructions say to select Low or High to cook and state explicitly that Keep Warm is only for food that is already cooked. That model switches to Keep Warm when its selected cooking time ends. It is convenient if the meal is done before you are ready to eat; it is not an extra block of cooking time you can use to make an underdone joint safe. Check your own model’s instructions for how long its holding mode may be used.
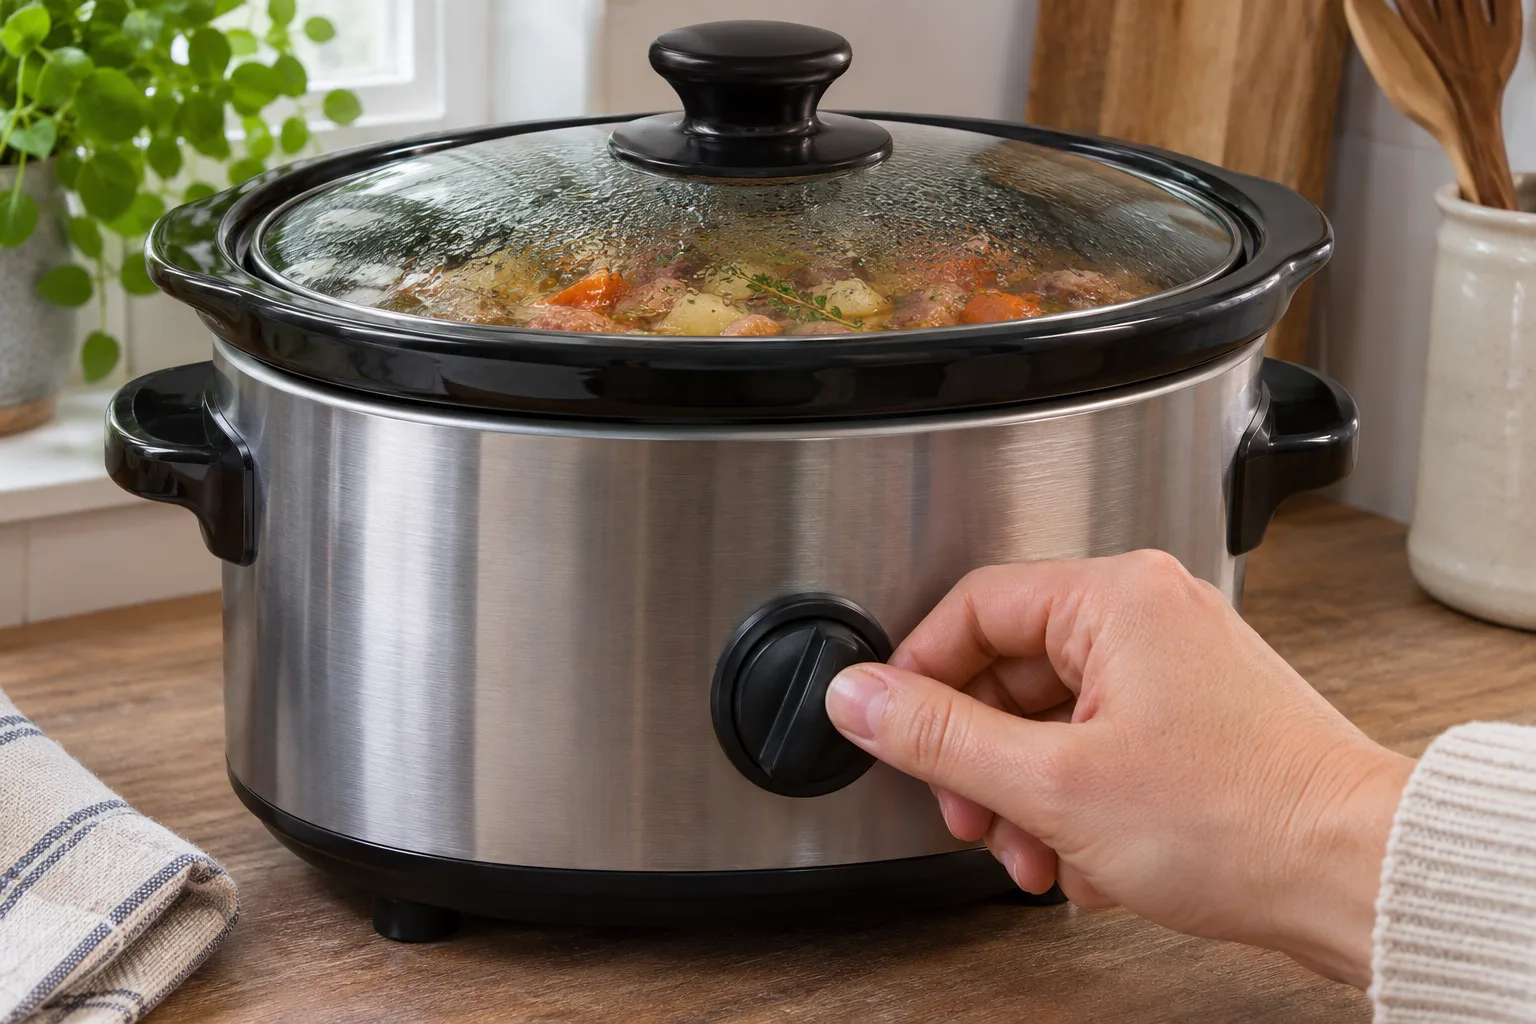
When to choose Low or High
Choose Low for a long window and a forgiving dish
Low is the sensible first choice when the recipe offers both settings and you have the full stated cooking window. Braising cuts, stews and casseroles can use that time to become tender. The advantage is scheduling: food can cook through a working day when the appliance and recipe are designed for that duration. The trade-off is that a long time does not rescue a badly chosen recipe. Lean meat, dairy and delicate vegetables can lose their best texture if you leave them in too long. A slow cooker is not a “set any number of hours” machine.
Use the recipe’s Low time as a planned window, not a minimum that you must exceed. For example, the Crock-Pot CSC052X beef stew recipe says Low for 8–10 hours or until the meat is tender. That last condition matters. If your stew is cooked but the sauce is thin, adding more hours is not necessarily the fix: the separate watery slow-cooker stew guide deals with liquid and thickening after the food is cooked.
Choose High when the recipe gives a credible shorter route
High is useful when you need the meal sooner and the recipe explicitly gives a High time. It is not always the best way to rush a dish that was designed for a long braise. Check the food earlier in the High window because small pieces and lean cuts may dry out or become soft before a tougher piece of meat reaches the texture you want. A vegetable-heavy soup and a large beef joint do not benefit from the same shortcut.
Our preference for an unfamiliar recipe is simple: if the stated Low time fits the day, take it. If not, use an explicitly tested High option from the recipe or a close model-manual example. If neither exists, make an early check and allow spare time rather than promising dinner at a calculated minute. It is much easier to hold a fully cooked meal according to your appliance instructions than to fix undercooked food at the moment you planned to serve.
- Long window: choose the recipe’s Low setting and its full time range.
- Shorter window: choose High only with a suitable recipe or a relevant model-manual guide.
- Time has run out but food is not cooked: keep cooking and check again; do not switch to Warm or serve by the clock.
Cooking-time examples from two UK manuals
Model examples, not a conversion chart
The UK Crock-Pot CSC052X instruction manual gives several Low and High pairs. Its beef stew is 8–10 hours on Low or 6 hours on High, while its lemon-herb chicken is 8–10 hours on Low or 4 hours on High. Even within one booklet, the shorter setting does not produce one fixed percentage of the longer setting. These are the manual’s recipe examples for that appliance, not promises for a different cooker or a differently sized piece of meat.
The UK Morphy Richards 460016 instruction book gives 8–10 hours on Low, 6–8 hours on Medium or 4–6 hours on High as its general meat-and-vegetable guide. Its recipe section says those times are guidance and may vary with food type. The same manual warns that food starting temperature, water and fat content, and piece size can change cooking speed. It also expects at least a half-full pot for best results. Those qualifications belong beside the times, not buried beneath a neat “divide by two” table.
| Manual and example | Low | High | How to use it |
|---|---|---|---|
| Crock-Pot CSC052X beef stew | 8–10 hours | 6 hours | Cook until the meat is tender; these are this recipe’s options. |
| Crock-Pot CSC052X lemon-herb chicken | 8–10 hours | 4 hours | A different recipe in the same booklet has a different High time. |
| Morphy Richards 460016 meat-and-vegetable guide | 8–10 hours | 4–6 hours | Guidance for this 3.5-litre model, not a universal conversion. |
Do not transfer a chicken time to another cut just because it fits your schedule. The Crock-Pot booklet says meat size, cut and bone structure alter cooking time. Its guide also shows different Low and High ranges when adapting conventional recipes, which is another reason to read the relevant recipe rather than use the table as a formula.
Why “Low for eight hours equals High for four” fails
The popular two-to-one shortcut is easy to remember, but the beef-stew example above is 8–10 hours versus 6, not 4–5. The chicken example is different again. The endpoint matters too: a casserole may be safely cooked yet still need more time for a tough cut to become tender, while a delicate ingredient may be cooked long before the sauce tastes ready. A conversion number cannot account for both.
If a recipe lists a range, start checking near the early end when you change setting, batch size or cooker. Do not repeatedly lift the lid to do it. Look for the recipe’s actual endpoint—tender meat, properly cooked vegetables and food cooked through—not just a timer reading zero.
How to change a recipe from Low to High
Start with the closest trustworthy time
First check whether the recipe author already supplies both settings. If so, use that High time. Next check your own appliance’s manual for a similar dish and its fill guidance. If the recipe was written for a different model, treat that comparison as an estimate and give yourself a margin. The safest answer may be to choose a different recipe if the intended meal simply cannot fit the time available.
For an example, a beef stew with cubed braising meat is closer to the CSC052X beef-stew recipe than its whole-chicken recipe. Even then, the size of the cubes, quantity, temperature of the ingredients and amount of liquid could differ. The manual’s “until tender” instruction tells you to judge the dish, not merely copy six hours onto your kitchen timer.
- Read the recipe and your model manual: note the setting, stated range, fill level and any special ingredient instructions.
- Choose High only if the dish suits it: use an explicit High option or a close manual example as a starting window, not an exact formula.
- Keep the lid properly seated: make one purposeful check near the earlier part of the expected window, then replace the lid promptly if more cooking is needed.
- Check the centre and texture: follow the recipe and food-safety guidance for the ingredients. Continue cooking if the food is not thoroughly cooked, whatever the display says.
Do not change liquid and time blindly together. Slow cookers retain more liquid than an uncovered pan. If you halve the time and also halve the stock because a social-media tip said so, you may change both the cooking conditions and the finished sauce. When adapting a conventional hob recipe, use the liquid guidance in your own appliance manual; the two UK manuals above do not phrase that guidance identically. If the meal finishes with too much sauce, make a sauce adjustment after checking it is cooked rather than using a shorter cook as a thickening trick.
Switching partway through
You can select a different cooking setting during a cook if your appliance allows it, but elapsed Low hours are not a bank balance you can convert into exact High minutes. A switch changes the pace from that point onward; it does not erase the cold start, a large joint or earlier lid openings. If you must switch because dinner is approaching, follow your appliance controls, keep the lid closed and check the food thoroughly at the end. Avoid using a partway switch as a planned method unless the recipe specifies one.
For a cooker with a countdown, remember what the display is measuring: the selected programme time. On the CSC052X, the user selects the Low or High temperature setting and then a time; when that cooking time finishes, the cooker moves to Keep Warm. The display cannot judge whether a larger-than-usual portion is properly cooked. A kitchen thermometer and the food’s centre are more useful than a timer alone for a borderline joint or casserole.
Why the same setting can take longer
Starting temperature and the amount in the pot
Food straight from the fridge begins colder than food that has just been prepared. That does not mean leaving raw meat on a worktop to “warm up” is a sensible time-saving step. Keep ingredients chilled until cooking, follow the model’s instructions and allow for the actual starting point. Morphy Richards’ 460016 manual specifically lists initial food temperature among the variables that change cooking speed; it also instructs users not to leave uncooked food at room temperature in the cooker. Its method for night-before preparation is to refrigerate the prepared ingredients in a covered container, then transfer them to the pot when ready to cook.
Quantity also matters. The CSC052X manual says to use a pot roughly half to three-quarters full for its recommended times and not to fill above three-quarters. The 460016 booklet calls for at least half-full for best results and gives a working volume of 2.5 litres for its 3.5-litre pot in its recipes. These are model-specific instructions, not a rule that every cooker should be filled to precisely the same mark. If your recipe and household size are consistently mismatched to the machine, use our capacity and portions guide before trying to fix every result by changing the setting.
Piece size, ingredients and the lid
Small, even pieces cook differently from a whole joint. Root vegetables often need positioning low in the pot; the Morphy Richards manual puts them at the bottom and asks for even pieces. Its guide says smaller pieces cook more quickly. For a meat dish, the type and cut also matter: connective tissue needs time to soften, whereas lean pieces can lose their best texture if left too long. Check the recipe’s method as carefully as its headline time.
Keep the lid seated throughout normal cooking. Lifting it repeatedly releases heat and makes a printed time less useful. The CSC052X manual says not to remove its lid during the first two hours so heat can build; the 460016 manual warns that lifting its glass lid extends cooking time and suggests allowing 10–15 extra minutes per opening. Do not turn that model-specific estimate into a universal penalty per lift. One planned check near the end is better than a series of anxious peeks.
- Cooker too full or too empty: compare your model’s working-fill instruction with your batch.
- Large or uneven pieces: use the recipe’s cut size and check the centre of the largest pieces.
- Cold ingredients: keep them chilled before cooking, but allow for the time a cold start needs.
- Lid not seated or repeatedly opened: close it properly and reassess the remaining cooking time.
Food safety, Keep Warm and delayed starts
The clock is not a doneness test
A recipe time is a guide to when to check, not a food-safety certificate. The Food Standards Agency’s cooking guidance says food should be cooked thoroughly and checked before serving; it recommends visual checks such as food being steaming hot throughout, and a clean thermometer can help with suitable dishes. Follow the recipe, packet and appliance instructions for your ingredients. This matters especially when a large joint or a crowded pot makes the middle slow to cook.
Our safety line is firm: a meal that is still undercooked at the planned finish time needs further cooking and another check. Do not move it to Warm because the guests have arrived. Do not rely on sauce thickness or a bubbling edge to judge the middle of a dish. A clear stock can surround meat that still needs time; a thick sauce can conceal the same problem.
Warm, power cuts and starting later
The CSC052X explicitly forbids cooking on Keep Warm and recommends no more than four hours on that setting. Other models may have different holding instructions, so use the limits for yours. The same manual says that after a power interruption its settings are lost and, if you do not know how long power was off, the food may be unsafe and should be discarded. Turning the cooker back to High cannot reliably undo an unknown period without heat.
Do not use a plug timer to leave raw ingredients sitting in an unheated cooker until the afternoon. A delayed start is not the same as a longer Low cook, and it may leave perishable food at an unsafe temperature. Keep ingredients refrigerated until cooking begins and follow your appliance manual. If the schedule simply does not allow the recipe’s cooking window, choose a different dish or a cooking method designed for the time available.
Once food is cooked, holding it warm and storing leftovers are separate decisions. The FSA says leftovers should be cooled and refrigerated within two hours, then eaten within 48 hours or frozen if that will not be possible. Its advice is to reheat leftovers until steaming hot throughout and only reheat them once. The Morphy Richards 460016 manual says not to use that slow cooker to reheat food. The broader batch-cooking and freezing guide covers the storage side; this page is about the Low/High cooking choice.
The choice in practice
If a recipe gives Low for eight to ten hours and High for four to six, choose the stated setting that fits your day, provided those times belong to that recipe or your model. Start with Low for a long stew when the full window is available; use High for a shorter, suitable recipe when it is not. Do not treat those ranges as a promise that any eight-hour dish becomes safe and tender after four hours on a different machine.
Before you switch, ask three questions: Is the recipe’s High option actually stated? Is the pot filled and prepared as the model expects? Can you check the food properly before serving? If any answer is no, allow extra time or change the meal plan. A cooker with clearer controls or a timer can make scheduling easier, but it does not remove the need to check food; the slow-cooker buying guide compares those control designs if you are choosing a machine.
The bottom line is a setting choice, not a conversion trick: Low buys a longer cooking window; High is the shorter route when the recipe and model support it. Keep Warm holds food already cooked. The meal, not the dial, gets the last word.
Frequently Asked Questions
Is four hours on High the same as eight hours on Low? Not reliably. The Crock-Pot CSC052X manual gives different Low/High pairs for different recipes, including beef stew at 8–10 hours on Low or 6 hours on High. Use the time for your recipe and model, then check the food.
Does Low cook at a different final temperature from High? Morphy Richards says its traditional slow cookers reach the same final temperature, with settings changing how quickly they get there. Do not assume that statement describes every make and model; check your own manual.
Can I start on High and switch to Low? If your model allows a setting change, you can switch, but there is no exact formula for converting elapsed time. Follow a recipe that specifies the switch where possible, keep the lid seated and check the food before serving.
Can Keep Warm finish an undercooked meal? No. The Crock-Pot CSC052X manual says Keep Warm is only for food already cooked. Continue on a cooking setting and check the meal is thoroughly cooked before serving.
Why is my slow cooker taking longer than the recipe? A colder start, a different batch size, larger pieces or repeated lid openings can change the time. Check the fill and method in your model’s instructions, keep the lid seated and judge doneness in the centre of the food.
Should I use a plug timer to start a slow cooker later? Do not leave perishable raw food sitting unheated in the cooker while a plug timer waits. Refrigerate ingredients until cooking begins and follow the appliance’s instructions; a delayed start is not a substitute for a safe cooking window.