You’re slicing a tomato and the knife crushes it flat before cutting through. You switch to an onion and your eyes water more than usual because the dull blade is crushing cells instead of cutting them cleanly, releasing extra irritants. You reach for the bread and the knife tears rather than slices. At this point, most people blame the knife. The knife is fine — it just needs sharpening. A sharp knife is safer, faster, and more enjoyable to use than a dull one, and keeping your knives sharp at home takes less effort than most people think.
In This Article
- Why Sharp Knives Matter
- Honing vs Sharpening: The Difference That Confuses Everyone
- Sharpening With a Whetstone
- Pull-Through Sharpeners
- Electric Knife Sharpeners
- Using a Honing Steel
- Sharpening Angles Explained
- How to Test If Your Knife Is Sharp
- How Often Should You Sharpen
- Looking After Your Knives Between Sharpenings
- Which Method Is Right for You
- Frequently Asked Questions
Why Sharp Knives Matter
A dull knife is more dangerous than a sharp one. That sounds backwards, but it’s the most important thing to understand about knife maintenance. A dull blade requires more force to cut, which means more pressure, less control, and a higher chance of the knife slipping sideways into your fingers. A sharp knife glides through food with minimal pressure, going exactly where you direct it.
Safety First
Every year, A&E departments across the UK treat thousands of knife injuries in domestic kitchens. The Royal Society for the Prevention of Accidents (RoSPA) lists knife injuries among the most common kitchen accidents. The majority involve dull knives that slipped during use. A sharp knife doing what you expect is safer than a dull one doing something unpredictable.
Better Results
Sharp knives produce cleaner cuts, which matters more than you might think. Herbs cut with a sharp knife stay green and aromatic. Herbs cut with a dull knife bruise and blacken within minutes. Onion dice from a sharp knife holds its shape in a stew. Tomato slices from a sharp knife are uniform and don’t collapse into mush. The quality of your cooking improves the moment your knives are sharp — no new recipes required.
Faster Prep
A sharp knife cuts prep time noticeably. Professional chefs sharpen their knives because they prep hundreds of kilos of food daily and can’t afford the extra seconds per cut that a dull blade costs. At home, the difference is less dramatic but still real — a Sunday roast prep that takes 40 minutes with dull knives takes 25 with sharp ones.
Honing vs Sharpening: The Difference That Confuses Everyone
These two words get used interchangeably, but they’re completely different processes. Understanding the difference saves you from ruining your knives or wasting money on the wrong tool.
Sharpening
Sharpening removes metal from the blade to create a new edge. It’s an abrasive process — you’re grinding away steel to form a sharp angle at the cutting edge. Sharpening is done infrequently (every few months for home cooks) using a whetstone, pull-through sharpener, or electric sharpener.
Honing
Honing doesn’t remove metal. It straightens the existing edge. Through normal use, the thin cutting edge of a knife bends and folds microscopically — it’s still there, just not aligned. A honing steel pushes that edge back into alignment. Honing is done frequently — ideally every time you use the knife — and takes about 10 seconds.
The Analogy
Think of your knife edge like the bristles on a broom. When new, they’re straight and sweep well. After use, they bend and splay in different directions — the broom still has all its bristles, they’re just misaligned. Honing is like straightening those bristles back into line. Sharpening is like cutting new bristles when the old ones are worn down to nubs.
Sharpening With a Whetstone
A whetstone (also called a sharpening stone or waterstone) is the gold standard for knife sharpening. It gives the most control, produces the finest edge, and works on virtually any knife. It’s also the most intimidating method for beginners, but the technique is simpler than it looks.
What You Need
A combination whetstone with two grits — typically 1000 grit on one side (for sharpening) and 3000 or 6000 grit on the other (for polishing/refining). A decent combination stone costs £15-30 from Amazon UK, Nisbets, or specialist suppliers like Knife Merchant. Japanese water stones (King, Naniwa, Shapton) are considered the best, but a generic 1000/6000 combination stone does an excellent job for home use.
Step-by-Step Whetstone Sharpening
- Soak the stone in water for 10-15 minutes until air bubbles stop rising. Some stones (splash-and-go types like Shapton) only need a splash of water on the surface.
- Set the angle — hold the knife at about 15-20 degrees to the stone. If you’re unsure, place two coins (1p coins work perfectly) under the spine of the knife near the heel — that’s roughly 15 degrees.
- Sharpen one side — with the blade edge facing away from you, draw the knife across the stone from heel to tip in a sweeping motion. Apply moderate pressure on the forward stroke, light pressure on the return. Repeat 10-15 times.
- Feel for the burr — run your thumb carefully across the edge (perpendicular to the blade, never along it). You should feel a tiny rough ridge on the opposite side from where you’ve been grinding. This “burr” means you’ve sharpened enough on that side.
- Switch sides — flip the knife and repeat until you raise a burr on the first side.
- Refine on the fine grit — flip the stone to the 3000/6000 side and repeat with lighter pressure, 5-8 strokes per side. This polishes the edge and removes the burr.
- Strop — draw the blade lightly across a leather strop (or even the palm of your hand in a pinch — carefully) to remove any remaining burr. A few passes is enough.
Common Mistakes
- Inconsistent angle — the biggest challenge. Try to maintain the same angle throughout each stroke. Angle guides (about £5) clip onto the spine of the knife and help maintain consistency.
- Too much pressure — let the stone do the work. Pressing hard removes too much metal and can create an uneven edge.
- Skipping the fine grit — the coarse side shapes the edge, but the fine side is what makes it razor-sharp. Don’t skip it.
Pull-Through Sharpeners
Pull-through sharpeners are the most popular home sharpening tool because they require zero skill. You pull the knife through a slot and spring-loaded abrasive elements sharpen the blade at a pre-set angle. Simple, fast, and consistent.
The Good
- No technique required — pull the knife through 5-10 times and it’s sharp
- Fast — sharpening a knife takes 30 seconds
- Consistent angle — the slot holds the blade at the correct angle automatically
- Affordable — decent pull-through sharpeners cost £10-25
The Bad
- Removes more metal than a whetstone — the fixed abrasives are aggressive
- Can’t adjust the angle — if your knife has a different bevel angle than the sharpener is set for, it reshapes the edge to its own angle (which may not be optimal)
- Doesn’t work on serrated knives — the straight slot can’t follow the scalloped edge
- Produces a good edge, not a great edge — fine for home cooking, but a whetstone produces a noticeably keener edge
Recommended Models
- AnySharp Pro — about £12. Suction-cup base, tungsten carbide sharpening element. The most popular kitchen sharpener in the UK and perfectly adequate for everyday knives.
- Robert Welch Signature — about £25. Two-stage (coarse and fine), more controlled than single-stage sharpeners.
- Minosharp Plus 3 — about £30. Three stages (coarse, medium, fine), ceramic wheels. The best pull-through sharpener on the market for producing a refined edge.
Electric Knife Sharpeners
Electric sharpeners use motorised abrasive belts or wheels to sharpen and hone in multiple stages. They’re the fastest option and require the least effort, but they come with trade-offs.
When They Make Sense
If you have a large knife collection and want to maintain all of them quickly, an electric sharpener saves time. They’re also good for people who find manual sharpening physically difficult — arthritis, grip strength issues, or limited dexterity.
The Trade-Offs
- Cost — decent electric sharpeners start at £40-50. The best (Chef’sChoice models) cost £100+.
- Metal removal — electric sharpeners are the most aggressive option. They remove more steel per sharpening session than any other method, which shortens the knife’s lifespan over years.
- Heat — friction from the motor can heat the blade, which affects the steel’s temper if you press too hard. Use light pressure and let the machine do the work.
- One angle fits all — most electric sharpeners have a fixed angle (typically 20 degrees). This works for Western knives but is too steep for Japanese knives (which use 12-15 degrees).
Recommended Models
- Chef’sChoice 15 Trizor XV — about £120. Three-stage, converts any knife to a 15-degree edge. The gold standard for electric sharpeners.
- Chef’sChoice 4643 — about £45. Two-stage, basic but reliable. Good entry point.
- SunrisePro — about £15. Not truly electric (it’s a suction-base pull-through), but often appears in electric sharpener searches. It’s fine for the price but isn’t in the same league as proper electric models.
Using a Honing Steel
A honing steel is the ribbed metal rod that comes in most knife block sets and that most people never use correctly — or at all.
How to Use It Properly
- Hold the steel vertically with the tip resting on a folded tea towel on the worktop (for stability)
- Place the knife heel against the top of the steel at 15-20 degrees
- Draw the knife down the steel from heel to tip in a single smooth stroke, as if you’re trying to slice a thin layer off the steel
- Alternate sides — one stroke left, one stroke right
- Repeat 5-6 times per side (10-12 total strokes)
The Common Way (And Why It’s Wrong)
Most people hold the steel in one hand and the knife in the other, waving both around in midair like a TV chef. This looks impressive but makes it nearly impossible to maintain a consistent angle. The vertical method described above is safer and more effective. The only downside is that it’s less photogenic.
How Often
Hone every time you pick up the knife. Seriously. It takes 10 seconds and keeps the edge aligned between proper sharpenings. Professional chefs hone before every service. Home cooks who hone before every cooking session can go 6-12 months between sharpenings instead of 2-3 months.
Steel vs Ceramic Honing Rods
Traditional steels have fine ridges that realign the edge. Ceramic honing rods are smoother and remove a tiny amount of metal — they’re essentially very fine sharpeners. Ceramic rods produce a slightly sharper result but are more fragile (they can chip if dropped). For most home cooks, a standard steel rod is fine.
Sharpening Angles Explained
The angle at which you sharpen determines how the knife performs. Different knives are designed for different angles.
Western Knives (Most UK Kitchen Knives)
- Standard angle: 20 degrees per side (40 degrees inclusive)
- Applies to: Victorinox, Robert Welch, Wüsthof, Zwilling, most supermarket knives
- Produces a durable edge that handles bone, frozen food, and rough chopping boards
- Less razor-sharp than Japanese angles but holds up longer between sharpenings
Japanese Knives
- Standard angle: 12-15 degrees per side (24-30 degrees inclusive)
- Applies to: Global, Shun, Miyabi, MAC, and any knife marketed as Japanese-style
- Produces a thinner, sharper edge ideal for precision cutting — sushi, fine vegetable work
- More fragile — don’t use on bone, frozen food, or glass chopping boards
How to Know What You Have
If you’re not sure what angle your knife was originally sharpened at, look at the cutting edge under a bright light. A wider, more visible bevel suggests a Western angle. A thin, barely visible bevel suggests a Japanese angle. When in doubt, sharpen at 15-17 degrees — it’s a safe middle ground that works well for both styles.
How to Test If Your Knife Is Sharp
The Paper Test
Hold a sheet of printer paper vertically by one edge. Slice down through the paper from top to bottom. A sharp knife cuts cleanly through paper with minimal resistance. A dull knife catches, tears, or fails to cut at all.
The Tomato Test
Place a ripe tomato on the chopping board. Rest the knife on top without pressing down. A sharp knife sinks into the tomato skin under its own weight. A dull knife just sits there. This is the most practical kitchen test because it tells you whether the knife will handle actual food prep.
The Fingernail Test
Gently rest the blade edge on your thumbnail at about 45 degrees (do NOT slice). A sharp edge catches and bites into the nail surface. A dull edge slides across the nail without catching. This test gives immediate feedback but requires care — don’t press hard.
How Often Should You Sharpen
Home Cooks Who Cook Daily
Sharpen every 2-3 months. Hone before every use.
Weekend Cooks
Sharpen every 4-6 months. Hone when you remember.
Occasional Cooks
Sharpen twice a year. Your knives are probably already dull — go sharpen them now.
Signs Your Knife Needs Sharpening
- Tomatoes squash before cutting
- Onions make your eyes water more than usual
- You need to saw through bread instead of slicing
- The knife slides off food surfaces instead of biting in
- You can’t pass the paper test
Looking After Your Knives Between Sharpenings
Use Wooden or Plastic Chopping Boards
Glass, marble, granite, and ceramic boards destroy knife edges. Every cut on a hard surface is like running your knife across a stone. Wood and plastic boards are softer than steel and preserve the edge between sharpenings. This single change makes more difference to edge retention than any sharpening method.
Hand Wash, Never Dishwasher
Dishwashers dull knives in three ways: the abrasive detergent erodes the edge, the water jets throw knives against other items, and the high heat can affect the steel’s temper. Hand wash with warm soapy water, dry immediately, and store properly. According to Which? kitchen product testing, dishwashers are the number one cause of premature knife dulling in UK kitchens.
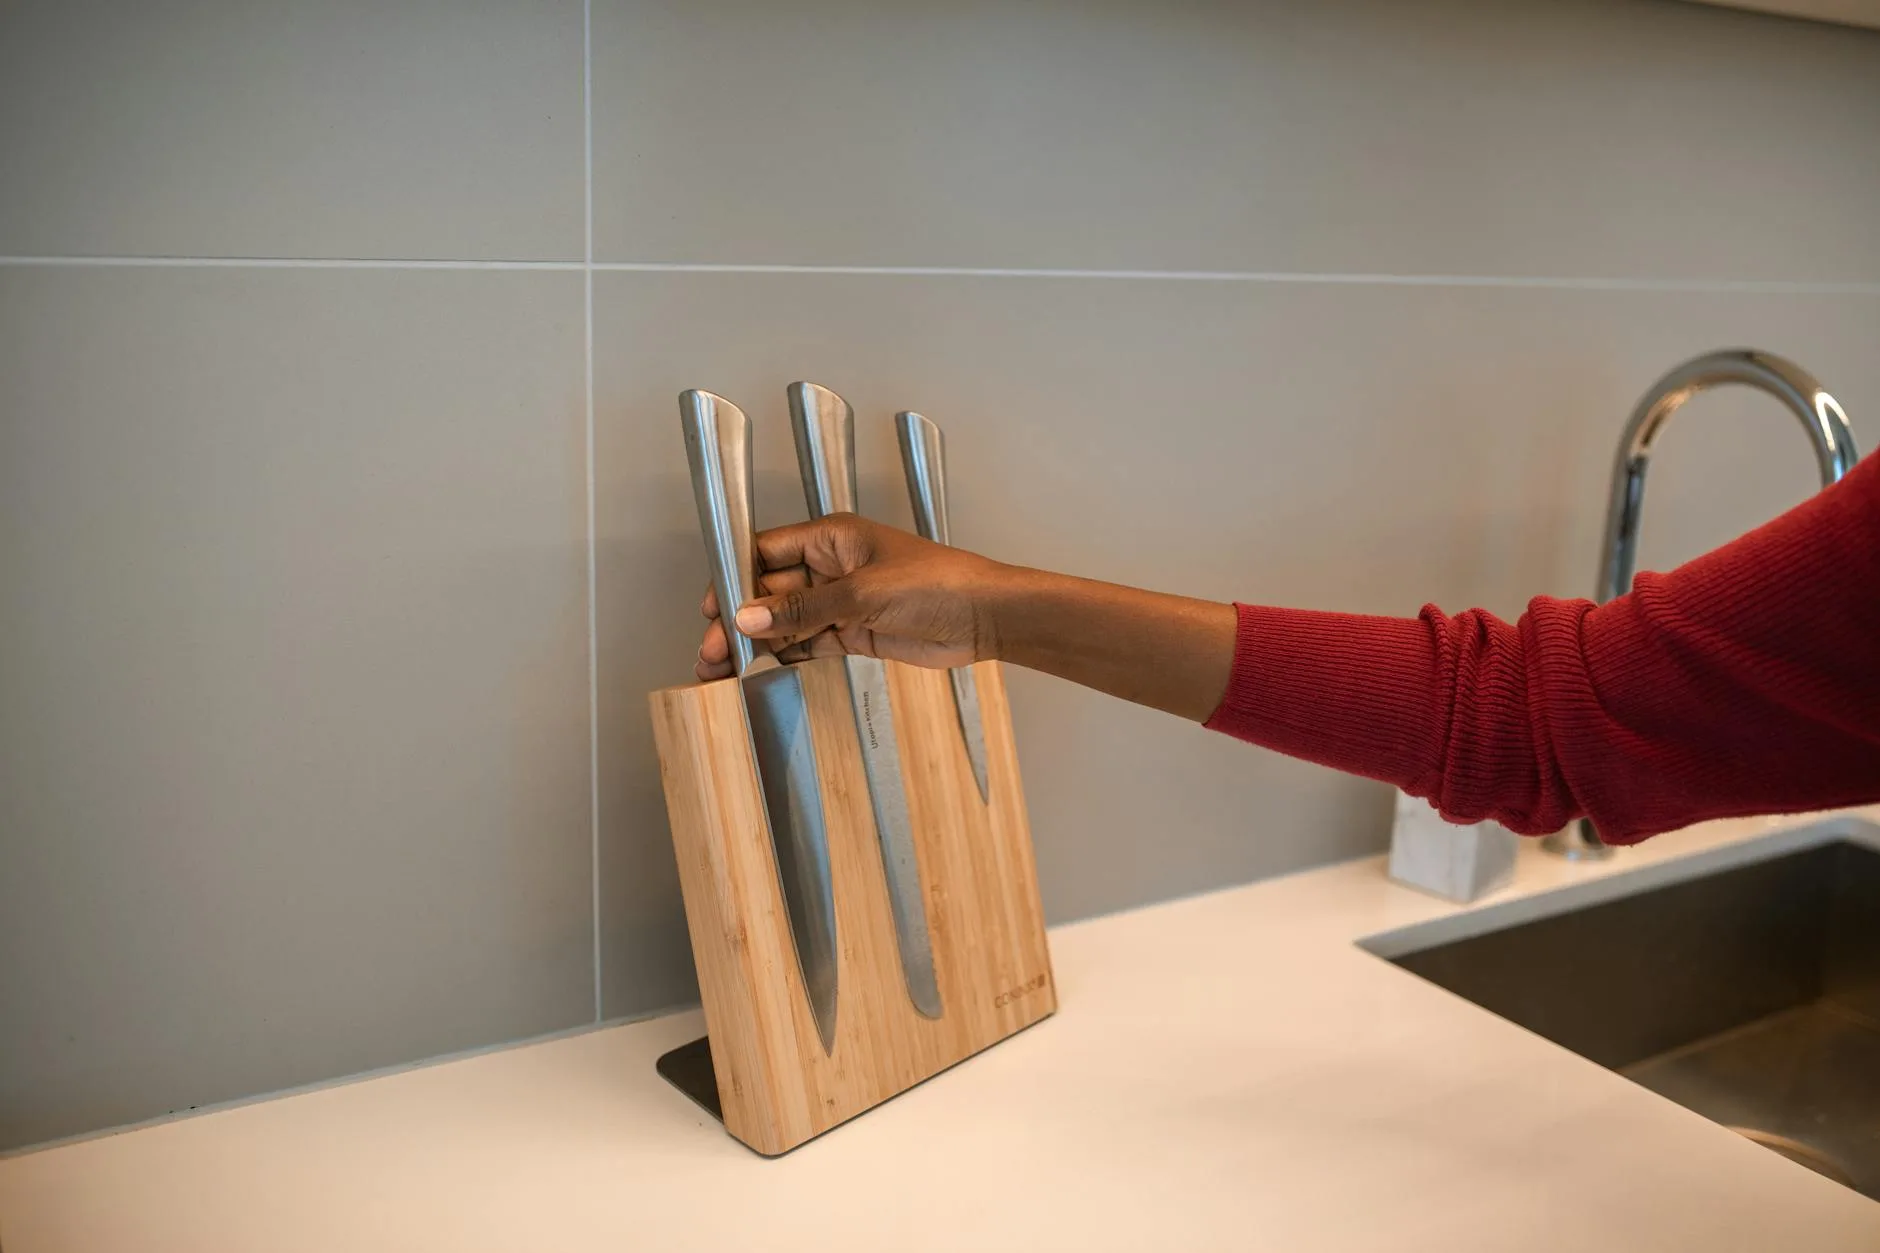
Store Properly
A magnetic knife strip (about £10-20) is the best storage option — each knife hangs independently without touching other blades. Knife blocks work too, as long as you insert the knife spine-first (edge-up), not edge-first. Loose in a drawer is the worst option — the blades knock against each other and dull with every rummage.
Don’t Use Knives as Tools
Opening packaging, prying lids, scraping food off boards with the edge — all of these damage the cutting edge. Use the spine of the knife for scraping, and reach for scissors when opening packaging. Your knife is a precision cutting tool, not a multi-tool.
Which Method Is Right for You
Choose a Whetstone If…
- You enjoy the process and want the sharpest possible edge
- You own Japanese knives that need specific angles
- You’re happy to spend 10-15 minutes sharpening every few months
- You want to extend your knife’s lifespan (whetstones remove the least metal)
Choose a Pull-Through If…
- You want sharp knives with zero skill required
- Speed matters more than perfection
- Your knives are standard Western-style kitchen knives
- You don’t want to invest more than £15-30
Choose an Electric Sharpener If…
- You have many knives to maintain
- Manual sharpening is physically difficult
- You value speed and consistency above all else
- You’re comfortable replacing knives every 5-10 years rather than keeping them for decades
Keep reading on KitchenGearUK: How to Choose a Knife Set: Materials, Types & Budget, How to Choose the Right Chopping Board, Cast Iron vs Non-Stick vs Stainless Steel: Cookware Guide, How to Make Non-Stick Pans Last Longer.
If you are refreshing cutting and cooking basics together, our guide to best non-stick frying pans covers another everyday item where surface care matters.
Frequently Asked Questions
Can you sharpen a serrated knife at home? Not easily. Serrated knives have scalloped edges that require a tapered rod sharpener (about £8-10) to sharpen each individual serration. In practice, most home cooks replace serrated knives when they dull rather than sharpen them — they hold their edge much longer than straight-edged knives because the serrations protect the cutting points.
Do you sharpen both sides of a knife? For most Western kitchen knives, yes — sharpen both sides equally. Japanese knives sometimes have a single-bevel edge (sharpened on one side only). If you’re unsure, look at the knife edge face-on under bright light. If the bevel is visible on both sides, sharpen both. If only one side has a bevel, sharpen that side only and give the flat side a few light strokes to remove the burr.
Is a whetstone better than a pull-through sharpener? A whetstone produces a sharper, more refined edge and removes less metal, which extends the knife’s lifespan. A pull-through sharpener is faster and requires no skill. For most home cooks with standard kitchen knives, a pull-through is perfectly adequate. If you own quality knives and want the best possible edge, invest in a whetstone.
How much does professional knife sharpening cost? Professional sharpening services charge about £3-8 per knife. Mobile sharpening vans visit many UK areas, and some kitchen shops offer sharpening services. If you only own a few knives and don’t want to sharpen yourself, professional sharpening twice a year is affordable and produces excellent results.
Will sharpening ruin my knife? Not if done correctly. Sharpening removes a small amount of metal each time, but a quality knife can be sharpened hundreds of times over decades. The main risk is inconsistent angle (which creates an uneven edge) or too-aggressive sharpening (which removes unnecessary metal). Start with light pressure and fewer strokes — you can always do more.