Your stand mixer has been sitting on the counter for months doing nothing but whipping the occasional batch of buttercream. Meanwhile, you’ve been kneading bread by hand, sweating over sticky dough, and wondering why your arms hurt more than your loaves rise. Here’s the thing — your mixer’s dough hook is the most underused attachment in the box, and it turns bread making from a workout into something you can do on a Tuesday evening without thinking twice.
In This Article
- Why a Stand Mixer Changes Bread Making
- Essential Tips Before You Start
- Simple White Sandwich Loaf
- Sourdough with a Stand Mixer
- Brioche
- Focaccia
- Wholemeal Seeded Loaf
- Cinnamon Swirl Bread
- Troubleshooting Stand Mixer Bread
- Frequently Asked Questions
Why a Stand Mixer Changes Bread Making
A stand mixer doesn’t just save effort — it produces better bread. The dough hook develops gluten more evenly than hand kneading, maintains consistent speed (no tired arms slowing down), and handles wet, sticky doughs that would defeat most hand-kneaders.
What the Dough Hook Does
The hook rotates through the dough, stretching and folding it against the bowl walls. This mechanical action develops the gluten network that gives bread its structure. Most breads need 8-10 minutes on medium speed — compared to 15-20 minutes of vigorous hand kneading.
Which Mixer You Need
Any stand mixer with a dough hook works for bread. The motor needs to be at least 300W for basic white bread, and 500W+ for heavy doughs like wholemeal and brioche. If your mixer walks across the counter during kneading, the dough is too stiff or the motor is struggling — reduce the batch size or add a splash more liquid.
For understanding which attachments to use when, that guide covers the full range beyond just the dough hook.
Essential Tips Before You Start
Temperature Matters
Yeast is alive and temperature-sensitive. Water that’s too hot kills it; water that’s too cold slows it down.
- Instant/fast-action yeast — use water at 25-30°C (lukewarm, comfortable on your wrist)
- Fresh yeast — dissolve in water at 30-35°C
- Sourdough starter — room temperature ingredients work best
Mixer Speed
Bread dough should be mixed on speed 1-2 (lowest settings). Higher speeds tear the gluten rather than developing it. If your mixer has a specific “stir” or “fold” speed, use that for initial mixing, then move to speed 2 for kneading.
The Windowpane Test
After kneading, tear off a small piece of dough and stretch it gently between your fingers. If you can stretch it thin enough to see light through without it tearing, the gluten is developed. If it tears immediately, knead for another 2-3 minutes and test again.
Weighing vs Measuring
Weigh your ingredients in grams with a kitchen scale. As the Real Bread Campaign advocates, knowing exactly what goes into your bread starts with accurate measurement. Volume measurements (cups) are inconsistent for flour — a “cup” can vary by 30% depending on how you scoop it. Every recipe below uses weights.
Simple White Sandwich Loaf
The foundation recipe. Master this and every other bread is a variation.
Ingredients
- 500g strong white bread flour (not plain flour — you need the higher protein content)
- 10g salt
- 7g instant yeast (one sachet)
- 30g unsalted butter (softened)
- 320ml warm water
Method
- Add flour, salt, and yeast to the mixer bowl. Keep salt and yeast on opposite sides — salt directly touching yeast can slow activation
- Attach the dough hook. Add water and mix on speed 1 for 2 minutes until a shaggy dough forms
- Add the softened butter. Increase to speed 2 and knead for 8 minutes. The dough should come away from the bowl sides and feel smooth and elastic
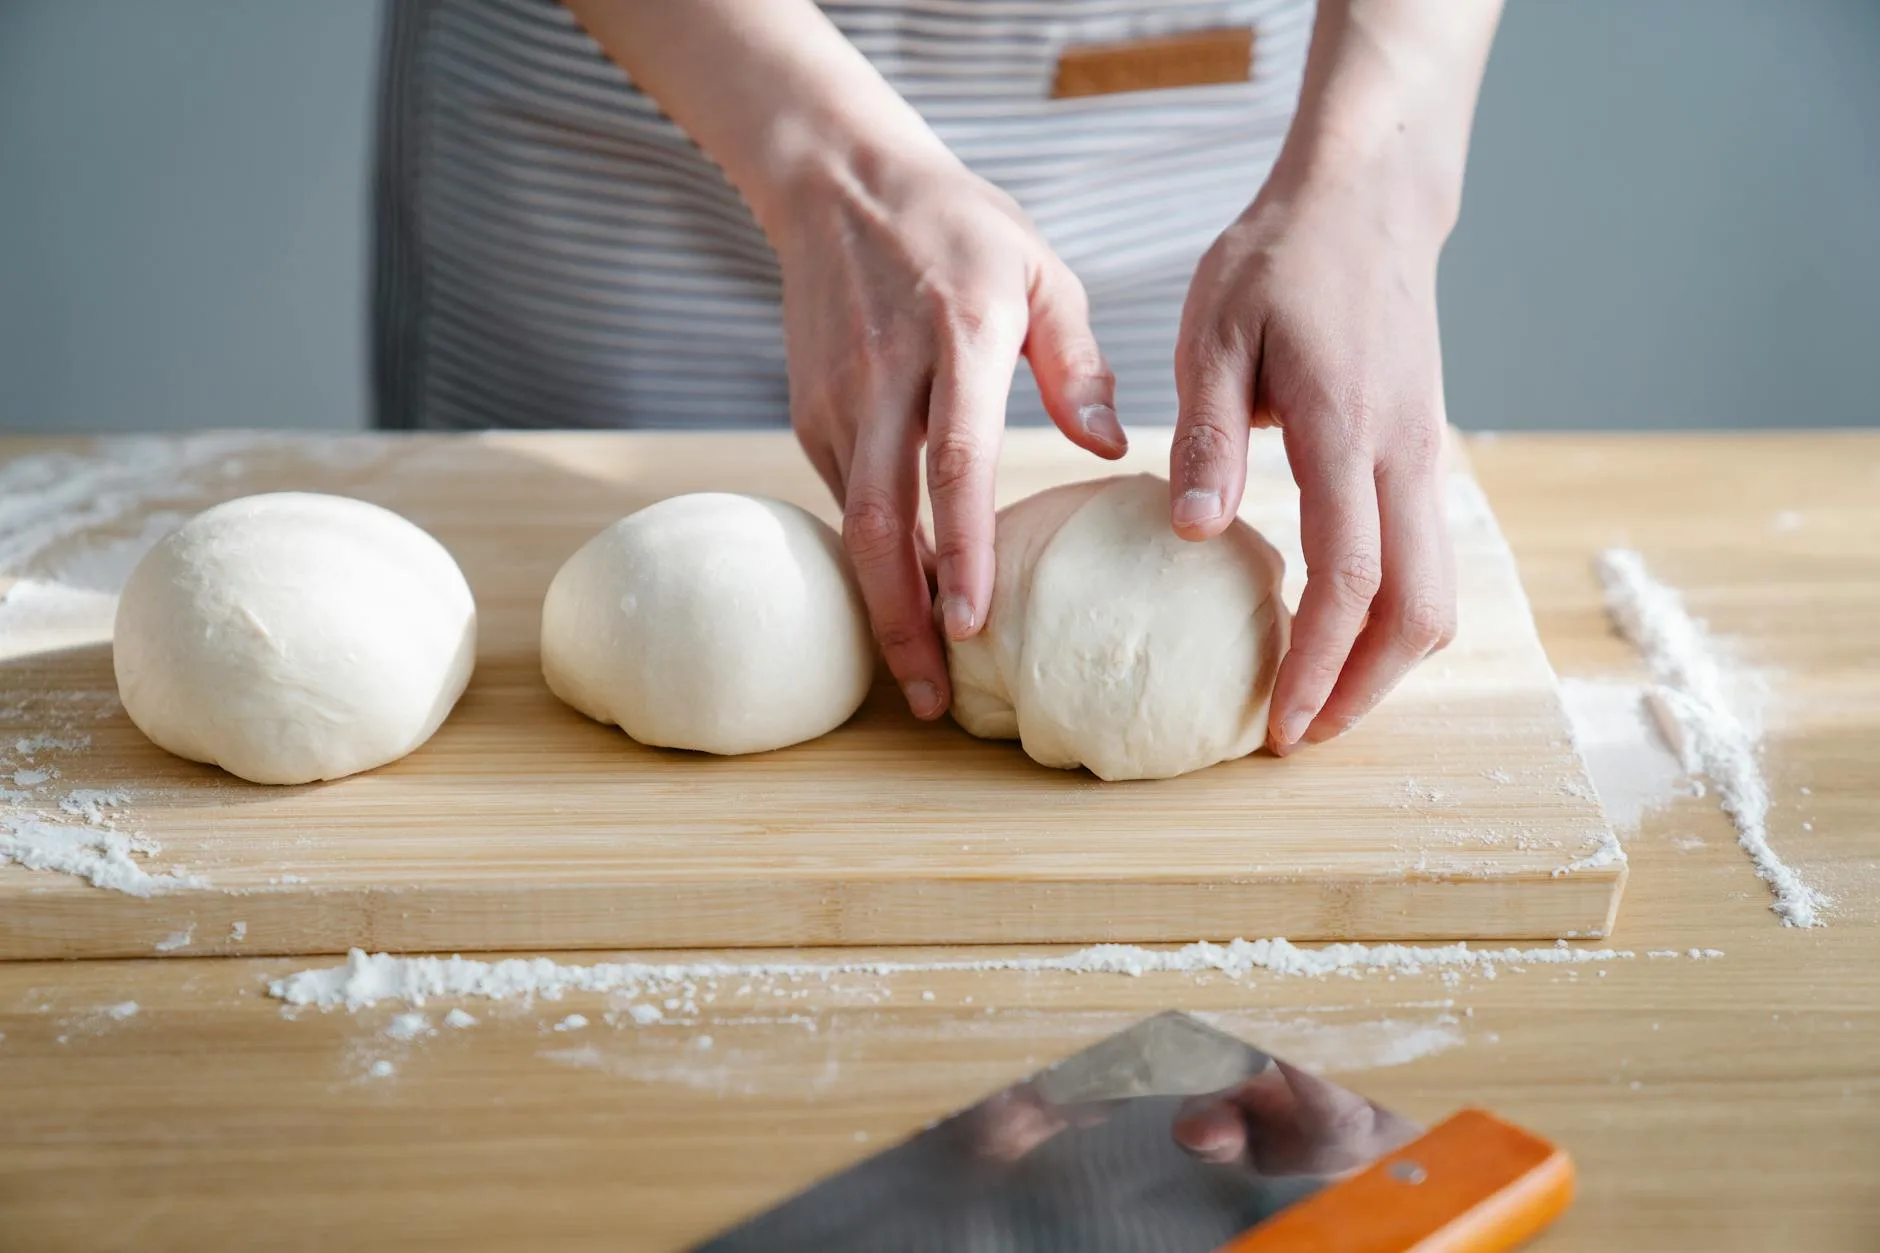
- Shape into a ball, place in a lightly oiled bowl, and cover with cling film or a damp tea towel
- Prove at room temperature for 1-1.5 hours until doubled in size
- Knock back the dough (punch it gently to deflate), shape into a loaf, and place in a greased 900g loaf tin
- Prove again for 30-45 minutes until the dough rises just above the tin edge
- Bake at 220°C (200°C fan) for 25-30 minutes until golden and hollow-sounding when tapped on the base
This makes a soft, sliceable loaf that’s better than anything from a supermarket. It stays fresh for 2-3 days wrapped in a tea towel.
Sourdough with a Stand Mixer
Sourdough purists will tell you a mixer isn’t authentic. They’re right — and also wrong. The mixer develops gluten faster and more consistently, which is especially helpful for beginners still learning how sourdough dough should feel.
You’ll Need a Starter
Before this recipe, you need an active sourdough starter. If you don’t have one, feed equal parts flour and water daily for 7-10 days until it reliably doubles within 4-6 hours of feeding.
Ingredients
- 400g strong white bread flour
- 100g wholemeal bread flour
- 100g active sourdough starter (fed 4-6 hours before)
- 10g salt
- 325ml warm water
Method
- Combine flours and water in the mixer bowl. Mix briefly on speed 1 to combine, then rest for 30 minutes (autolyse — this hydrates the flour and starts gluten development before kneading)
- Add the starter and salt. Mix on speed 2 for 6-8 minutes until the dough is smooth and passes the windowpane test
- Transfer to a lightly oiled container. Perform 3 sets of stretch-and-folds at 30-minute intervals (lift one side of the dough, stretch it up, fold it over the top — rotate and repeat 4 times per set)
- After the final fold, cover and bulk ferment at room temperature for 4-6 hours (longer in winter, shorter in summer) until increased by 50-75% in volume
- Shape the dough and place seam-side up in a floured banneton or lined bowl
- Cover and refrigerate overnight (12-18 hours) — this cold retard develops flavour
- Preheat oven to 250°C with a Dutch oven inside for 45 minutes
- Score the top of the loaf with a razor blade or sharp knife. Transfer to the hot Dutch oven, lid on
- Bake lid on for 20 minutes, then remove lid and bake for a further 20-25 minutes until deep golden brown
The cold retard in step 6 is where the flavour happens. Skip it and your sourdough will taste like white bread with a slightly tangy undertone. Give it the overnight rest and you get that complex, sour, deeply flavoured crumb that makes sourdough worth the effort.
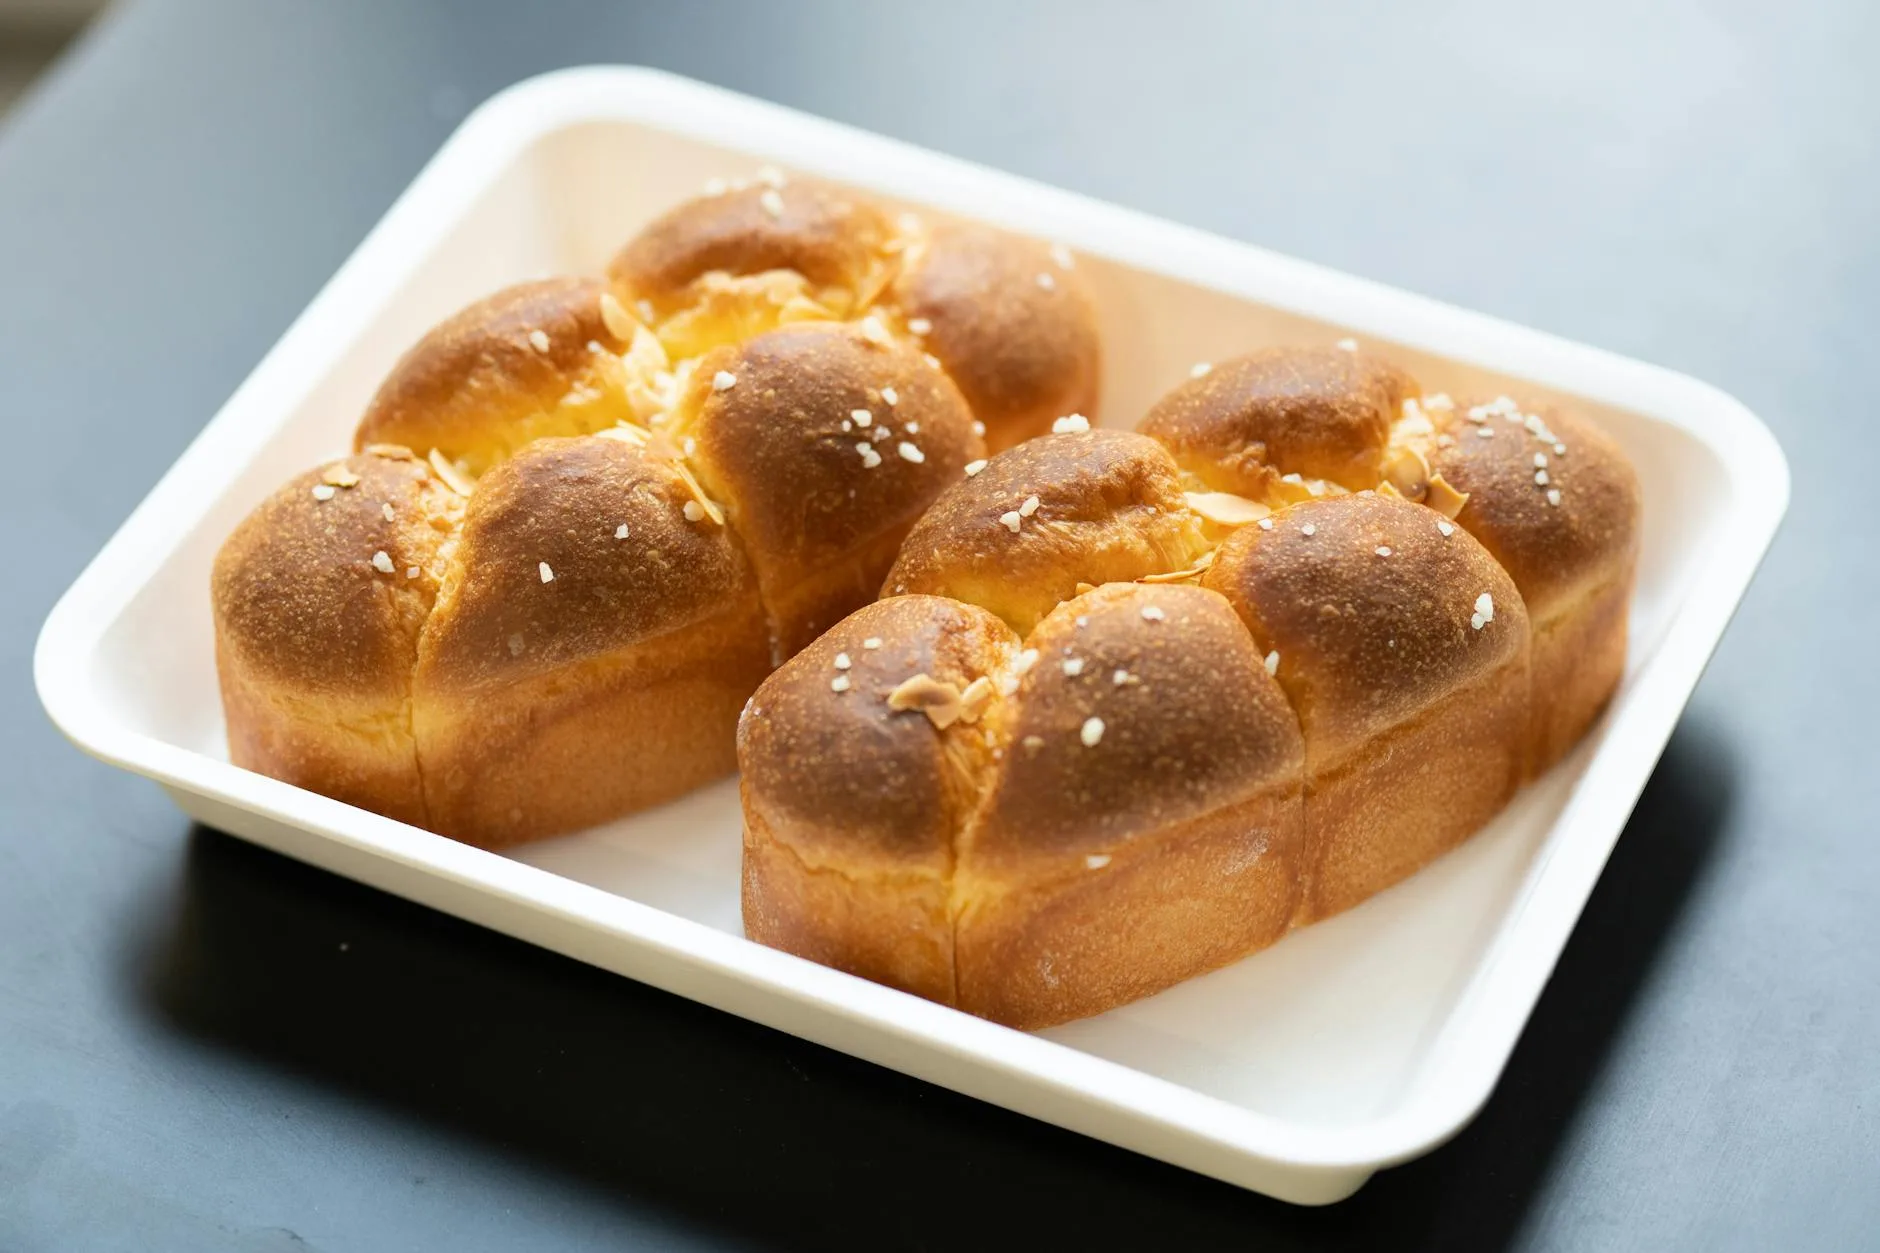
Brioche
This is where a stand mixer becomes essential. Brioche dough contains so much butter that kneading by hand is practically impossible — the dough is sticky, slack, and fights you at every stage. The mixer handles it without breaking a sweat.
Ingredients
- 500g strong white bread flour
- 10g salt
- 60g caster sugar
- 10g instant yeast
- 6 large eggs (at room temperature)
- 250g unsalted butter (softened, cut into 2cm cubes)
- Egg wash: 1 egg beaten with 1 tbsp milk
Method
- Combine flour, salt, sugar, and yeast in the mixer bowl
- Add eggs one at a time on speed 1, mixing until each is incorporated before adding the next
- Once all eggs are in, increase to speed 2 and knead for 10 minutes. The dough will be very sticky — resist adding more flour
- With the mixer running on speed 2, add butter cubes one at a time. Wait until each piece is absorbed before adding the next. This takes 10-15 minutes. The dough will look like it’s falling apart midway through — this is normal. Keep mixing and it comes back together
- Continue kneading on speed 2 for a further 5 minutes until the dough is glossy, elastic, and pulls cleanly from the bowl sides
- Cover the bowl and refrigerate for at least 4 hours (overnight is better). Cold brioche dough is much easier to shape
- Divide into 8 equal portions, roll into balls, and place in a greased brioche mould or 23cm round tin
- Prove at room temperature for 1.5-2 hours until puffy and jiggly when nudged
- Brush with egg wash. Bake at 190°C (170°C fan) for 25-30 minutes until deep golden brown
The total butter content is 50% of the flour weight — that’s what makes brioche brioche. Don’t reduce it. The overnight fridge rest in step 6 isn’t optional; warm brioche dough is impossibly sticky and won’t shape properly.
Focaccia
The easiest impressive bread you can make. Wet dough, minimal shaping, dramatic results.
Ingredients
- 500g strong white bread flour
- 10g salt
- 7g instant yeast
- 375ml warm water
- 4 tbsp olive oil (plus more for the tin and topping)
- Flaky sea salt for topping
- Fresh rosemary (optional)
Method
- Combine flour, salt, yeast, and water in the mixer bowl. Mix on speed 1 for 2 minutes
- Add 2 tbsp olive oil. Knead on speed 2 for 8 minutes. The dough will be wetter than a standard bread dough — this is correct
- Oil a deep baking tray (about 30cm × 20cm) with the remaining 2 tbsp olive oil. Turn the dough out onto the tray
- Stretch the dough to roughly fill the tray. It will spring back — that’s fine. Cover and rest for 30 minutes, then stretch again. Repeat until the dough fills the tray
- Cover and prove for 1 hour until puffy and billowy
- Drizzle generously with olive oil. Dimple the surface with your fingertips, pressing right down to the base of the tray. Push rosemary sprigs into the dimples and scatter flaky sea salt
- Bake at 220°C (200°C fan) for 20-25 minutes until golden on top and crispy on the base
Focaccia is forgiving. The high hydration and olive oil mean it’s difficult to dry out, and the dimpling technique creates the signature cratered surface that pools oil during baking.
Wholemeal Seeded Loaf
Wholemeal flour absorbs more water than white, which is why many homemade wholemeal loaves turn out dense and dry. The mixer helps by thoroughly hydrating the flour, and the overnight rest does the rest.
Ingredients
- 350g wholemeal bread flour
- 150g strong white bread flour
- 10g salt
- 7g instant yeast
- 30g honey or treacle
- 30g butter (softened)
- 350ml warm water
- 50g mixed seeds (sunflower, pumpkin, linseed, sesame)
Method
- Combine flours, salt, yeast, and seeds in the mixer bowl
- Add water, honey, and butter. Mix on speed 1 for 2 minutes, then speed 2 for 10 minutes. Wholemeal dough needs longer kneading than white
- The dough should be slightly tacky but pull away from the bowl. If it’s too wet, add flour 1 tablespoon at a time
- Prove for 1.5-2 hours (wholemeal rises slower than white)
- Shape and place in a greased 900g loaf tin. Brush the top with water and press extra seeds onto the surface
- Prove for 45-60 minutes until risen to 2cm above the tin edge
- Bake at 210°C (190°C fan) for 30-35 minutes. Cover with foil after 20 minutes if the top browns too quickly
The mix of wholemeal and white flour gives you the fibre and flavour of wholemeal with the lighter texture of white. Pure 100% wholemeal makes a denser loaf — perfectly good, but not what most families want for sandwich bread.
Cinnamon Swirl Bread
A step up from basic bread that makes the kitchen smell extraordinary. Works brilliantly for toast and French toast.
Ingredients
Dough:
- 500g strong white bread flour
- 7g instant yeast
- 8g salt
- 50g caster sugar
- 50g butter (softened)
- 200ml warm milk
- 2 eggs
Filling:
- 75g soft brown sugar
- 2 tbsp ground cinnamon
- 30g butter (melted)
Method
- Combine flour, yeast, salt, and sugar in the mixer. Add milk, eggs, and butter. Knead on speed 2 for 8-10 minutes until smooth and elastic
- Prove for 1 hour until doubled
- Roll the dough into a rectangle roughly 40cm × 30cm on a floured surface
- Brush the melted butter over the surface. Mix brown sugar and cinnamon, then sprinkle evenly over the butter, leaving a 1cm border at one long edge
- Roll tightly from the long edge towards the border. Pinch the seam closed
- Place seam-side down in a greased 900g loaf tin. Prove for 45 minutes until puffy
- Bake at 180°C (160°C fan) for 30-35 minutes. The lower temperature prevents the sugar filling from burning before the bread cooks through
Let this cool completely before slicing — the filling sets as it cools. Cutting too early means the swirl separates and the filling runs everywhere. We learned this one the hard way.
Troubleshooting Stand Mixer Bread
Dough Climbing the Hook
The dough ball rides up the hook and wraps around the shaft instead of being kneaded. This happens with stiff doughs. Fix: stop the mixer, push the dough down, and add 1-2 tablespoons of water to soften it slightly.
Dough Not Coming Together
After 5 minutes of mixing, the dough is still a shaggy mess. Give it time — some doughs, especially wholemeal and high-hydration recipes, take longer to develop. If it’s genuinely too dry after 8 minutes, add water 1 tablespoon at a time.
Mixer Walking Across the Counter
The motor is struggling with a stiff dough. Reduce the batch size (halve the recipe), or ensure you’re on speed 1-2 only. If your mixer consistently can’t handle bread dough, it may lack sufficient wattage — check the bowl size and motor guide for recommendations.
Over-Kneading
Possible but rare with a stand mixer at low speed. Signs: the dough becomes slack, loses elasticity, and tears rather than stretching. If this happens, rest the dough for 20 minutes and it usually recovers.
Dense, Heavy Loaf
Usually a proving problem, not a mixing problem. Either the dough didn’t rise enough before baking, the yeast was dead, or the water was too hot and killed the yeast. Test your yeast by dissolving it in warm water with a pinch of sugar — it should foam within 10 minutes.
Keep reading on KitchenGearUK: Planetary vs Spiral Mixers: What’s the Difference?, How to Make Pasta with a Stand Mixer: Dough to Shapes, Stand Mixer Attachments Explained: What Each One Does, Stand Mixer Bowl Sizes Explained: What Capacity Do You Need?.
Frequently Asked Questions
Can I make bread in any stand mixer? Most stand mixers come with a dough hook and can handle basic bread dough. Cheaper mixers (under 300W) may struggle with stiff wholemeal or enriched doughs like brioche. For regular bread making, a mixer rated 500W+ with a 4.5 litre+ bowl is recommended. Check your mixer’s manual for maximum flour capacity — exceeding it strains the motor.
How long should I knead bread in a stand mixer? Most bread doughs need 8-10 minutes on speed 2. Enriched doughs (brioche, cinnamon bread) can take 15-20 minutes because the butter and sugar slow gluten development. Use the windowpane test to confirm — time is a guideline, not a rule.
Why does my bread taste bland? Almost always a salt issue. Salt does more than flavour — it controls yeast activity and strengthens gluten. Use 2% salt relative to flour weight (10g per 500g flour). Also, longer proving times develop more flavour. A 1-hour prove produces less flavour than an overnight cold retard in the fridge.
Can I leave dough to prove overnight in the fridge? Yes — and it improves flavour. Shape the dough, place it in the tin or banneton, cover tightly, and refrigerate for 12-18 hours. In the morning, let it come to room temperature for 30-60 minutes, then bake as normal. The cold, slow fermentation develops complex flavours that a quick room-temperature prove can’t match.
How do I store homemade bread? Wrap in a clean tea towel or place in a bread bin at room temperature. Most homemade bread stays fresh for 2-3 days. For longer storage, slice and freeze — frozen bread slices toast directly from frozen in about 3 minutes.