In This Article
- Why Dehydrating Works
- Method 1: Air Fryer Dehydrating
- Method 2: Oven Drying
- Method 3: Dedicated Dehydrator
- Food Safety and Storage
- What I Would Use at Home
- Frequently Asked Questions
Why Dehydrating Works
Dehydrating food is one of the oldest and most reliable ways to preserve the harvest, and it’s especially practical for UK homes where space and energy efficiency are important. By removing water content from food, you make it inhospitable to bacteria, mould, and yeast—organisms that need moisture to grow. This means your apples, chillies, tomatoes, and other produce can last for months, even without refrigeration.
Dehydration also intensifies flavours and preserves nutrients, making dried produce a healthy and convenient snack or ingredient. Dried apple rings, for example, become naturally sweeter and chewier, perfect for lunchboxes or porridge toppings. Dehydrated tomatoes pack a rich, savoury punch that enlivens winter stews and pasta sauces. Herbs retain their aroma for months, ready to sprinkle into soups or roasts.
With food prices rising and a growing interest in reducing waste, more UK households are turning to dehydration as a way to store homegrown or supermarket produce. It’s also a favourite among campers, hikers, and anyone who wants lightweight, shelf-stable food for outdoor adventures (see How to Batch Cook and Freeze Meals Efficiently).
Method 1: Air Fryer Dehydrating
Air fryers are now a fixture in many British kitchens, and the latest models often include a ‘dehydrate’ function. Even if your air fryer doesn’t have this setting, it can still be used for small-batch drying if it can run at a low enough temperature.
How Air Fryer Dehydration Works
Air fryers circulate hot air rapidly around the food, similar to a fan oven but in a smaller, more energy-efficient chamber. This constant airflow is crucial for removing moisture from the surface of fruit, vegetables, or herbs.
Most air fryers in the UK can be set as low as 40–60°C, which is gentle enough to dry food without cooking it. Some older or basic models may only go down to 80°C, which can be too hot for delicate items like herbs but still workable for sturdier produce.
Step-by-Step Guide
- Prepare the food: Wash, core, and slice fruit or vegetables evenly, about 0.5–1cm thick. Uniform slices ensure even drying.
- Arrange in the basket or on racks: Lay the slices in a single layer, making sure they don’t overlap. If your air fryer has a rack accessory, use it to increase capacity.
- Set temperature and timer: Choose the lowest possible setting (ideally 50–60°C). Start with 2–3 hours for fruit, checking progress every hour.
- Check and rotate: Open the basket or tray every 30–60 minutes to check progress, flip slices, and rotate trays if your air fryer has more than one level.
- Test for doneness: Food should feel leathery, not sticky or wet. Apples may take 3–4 hours, chillies 6–8 hours, and tomatoes 5–7 hours, depending on thickness and water content.
For a quick reference, see the Air Fryer Cooking Times Guide.
Pros
- Energy-efficient: Uses less electricity than a full-size oven.
- Quick to preheat: Heats up in minutes, ideal for small batches.
- Easy to clean: Most baskets and racks are dishwasher safe (see How to Clean an Air Fryer Properly).
- Compact: Fits easily on a countertop, ideal for flats or small kitchens.
Cons
- Limited capacity: Best for snacks or single trays of produce.
- Temperature limitations: Some models don’t go low enough, risking uneven drying or partial cooking.
- Manual monitoring: Requires regular checking and rotating for even results.
Best For
- Beginners or those with limited space.
- Households wanting to try dehydration without extra investment.
- Small quantities of fruit, veg, or herbs.
If you’re considering an upgrade, check out the Best Air Fryer Ovens 2026 UK for models with dedicated dehydration settings and larger capacity.
Practical Example: Drying Apples in an Air Fryer
Slice apples into 0.5cm rings, dip in lemon water to prevent browning, and arrange in a single layer. Set the air fryer to 55°C and check after 2 hours. Flip the slices and continue for another 1–2 hours. Let cool before storing in airtight jars.
Method 2: Oven Drying
Most UK homes have a conventional or fan oven, making oven drying an accessible method for preserving larger quantities of produce. While not as energy-efficient as an air fryer or dehydrator, the oven’s larger capacity makes it suitable for glut-busting sessions after a big harvest.
How Oven Drying Works
Ovens heat air and, with the fan on, circulate it around the food. The key to successful dehydration is using the lowest possible temperature (usually 50–70°C) and allowing moisture to escape—this is why the door is kept slightly ajar.
Step-by-Step Guide
- Preheat the oven: Set to the lowest temperature (ideally 50–60°C). Fan ovens are preferable for even airflow.
- Prepare the food: Slice produce evenly, as with air fryer drying.
- Arrange on trays: Use baking trays lined with parchment or, for best results, oven-safe wire racks to allow air to circulate underneath.
- Prop the door open: Use a wooden spoon or heatproof wedge to keep the oven door slightly ajar. This lets moisture escape, preventing sogginess or steaming.
- Rotate trays: Every hour, swap tray positions and turn slices for even drying.
- Check for doneness: Apple rings take 4–6 hours, tomatoes 8–10 hours, herbs 2–3 hours. Check regularly to prevent over-drying or burning.
Pros
- Handles large batches: Ideal for processing a glut of apples, tomatoes, or herbs.
- No extra equipment: Uses what you already have in the kitchen.
- Flexible: Can dry a variety of produce at once by using multiple trays.
Cons
- Higher energy use: Running an oven for several hours can be costly.
- Temperature control: Many ovens struggle to maintain a steady low temperature, especially older models.
- Uneven drying: Without a fan or regular rotation, some areas may dry faster than others.
Tips for Success
- Use a fan oven: If available, this improves air circulation and speeds up drying.
- Monitor thin items: Herbs and thin slices can dry quickly and may burn if left unattended.
- Line trays: Parchment paper prevents sticking and makes cleanup easier.
- Consider a thermometer: An oven thermometer helps monitor the actual temperature, as many ovens run hotter than their lowest setting.
Oven drying is a practical choice for those wanting to process large amounts of produce without buying new gadgets. For more ideas on making the most of your kitchen kit, see Kitchen Gadgets That Are Actually Worth the Drawer Space.
Practical Example: Drying Tomatoes in the Oven
Halve cherry tomatoes or slice large tomatoes 1cm thick. Arrange cut-side up on parchment-lined trays. Sprinkle lightly with salt. Dry at 60°C with the door ajar for 8–10 hours, rotating trays every 2 hours. Store in sterilised jars.
Method 3: Dedicated Dehydrator
A dedicated food dehydrator is designed for the task, offering precise temperature control, even airflow, and the ability to dry large quantities of food at once. These appliances are increasingly available in the UK, with models ranging from compact countertop units to larger, stackable designs.
How a Dehydrator Works
Dehydrators use a gentle heat source (usually 35–70°C) and a fan to circulate air over stacked trays. This setup ensures even drying and allows you to process multiple types of food simultaneously. Most models let you set the temperature and timer, so you can leave them running overnight or while you’re out.
Step-by-Step Guide
- Prepare food: Wash, core, and slice produce evenly.
- Arrange on trays: Place in a single layer, leaving space between pieces for air to circulate.
- Set temperature: Most fruits dry best at 55°C, herbs at 35–40°C, and meats at 65–70°C.
- Set timer: Apple slices typically take 6–8 hours, tomatoes 10–12 hours, beef jerky 6–8 hours. Thicker items or those with higher water content will take longer.
- Rotate trays if needed: Some dehydrators have fans that distribute air evenly; others may require you to swap tray positions halfway through.
For detailed guidance, the National Center for Home Food Preservation provides science-backed advice.
Pros
- Consistent results: Precise temperature and airflow control.
- Large capacity: Multiple trays allow for bulk processing.
- Energy-efficient: Uses less electricity than an oven for large batches.
- Convenient: Many models have timers and auto shut-off.
Cons
- Initial cost: Entry-level models start around £40, with premium units exceeding £150.
- Storage space: Needs a dedicated spot in your kitchen or cupboard.
- Cleaning: Trays and mesh inserts need regular washing.
Best For
- Gardeners or allotment holders with regular gluts.
- Those who want to make jerky, fruit leathers, or dry herbs in bulk.
- Households committed to regular food preservation.
Choosing a Dehydrator
When shopping for a dehydrator in the UK, look for:
- Adjustable temperature control: Essential for drying different foods safely.
- Timer function: Allows you to set and forget.
- Stackable or sliding trays: For easy access and cleaning.
- Mesh inserts: Useful for drying small items like herbs or berries.
Practical Example: Making Chilli Flakes in a Dehydrator
Slice chillies in half, remove seeds if desired, and arrange on trays. Dry at 60°C for 6–8 hours until brittle. Pulse in a spice grinder to make homemade chilli flakes—perfect for pizzas or curries.
Food Safety and Storage
Dehydrating food at home is safe and reliable if you follow a few essential guidelines. Proper technique ensures your dried produce stays fresh and free from spoilage.
Key Safety Principles
- Dry food thoroughly: Any remaining moisture can lead to mould or spoilage. Food should be leathery, crisp, or brittle depending on the item. Test by letting a piece cool, then bend or snap it—if it feels soft or sticky, it needs more drying.
- Cool before storing: Warm food releases moisture, which can condense inside containers and cause spoilage. Always let dried food cool to room temperature before packing.
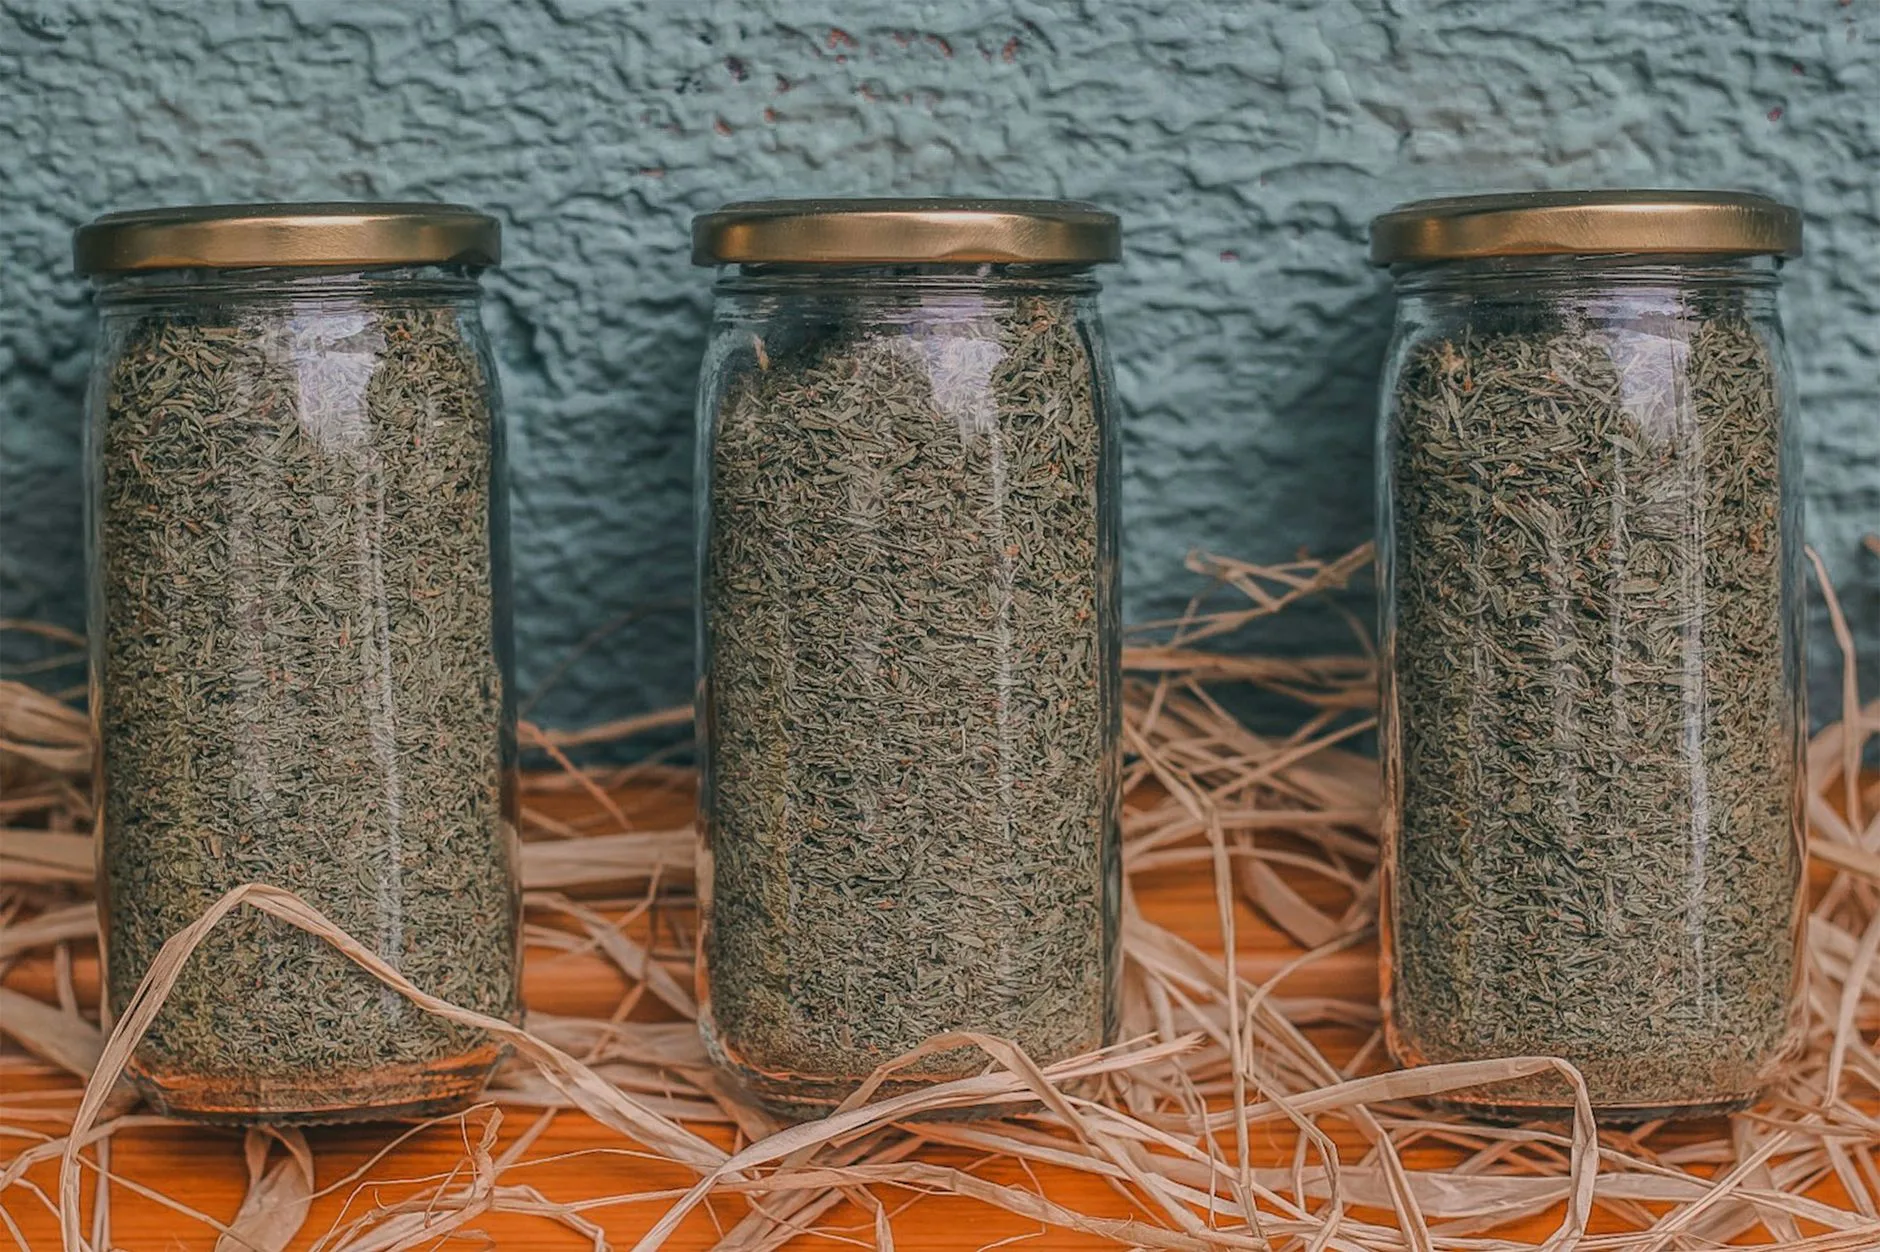
- Use airtight containers: Glass jars with tight lids, vacuum-sealed bags, or food-grade plastic containers work well. For herbs, small glass jars keep flavours locked in.
- Store in a cool, dark place: Cupboards away from the cooker or sunny windows are ideal. Light and heat shorten shelf life and degrade nutrients.
- Label and date: Mark containers with the date and contents. This helps you use older batches first and monitor shelf life.
For extra safety, especially with meat or high-moisture foods, you can store dried items in the fridge or freezer. Follow Food Standards Agency chilling guidance to prevent cross-contamination.
Signs of Spoilage
- Off smells or visible mould: Discard immediately.
- Food feels moist or sticky after storage: Indicates incomplete drying or moisture ingress.
- Insects or webbing inside containers: Discard contents and clean containers thoroughly.
If you spot any of these signs, err on the side of caution and throw the food away.
Shelf Life
- Dried fruit and veg: Up to 12 months in cool, dark conditions.
- Herbs: 4–6 months for best flavour.
- Jerky: 1–2 months in airtight containers; longer if vacuum-sealed and refrigerated.
Storage Tips for UK Homes
- Humidity: UK weather can be damp. Use silica gel packs or oxygen absorbers in jars to keep moisture at bay.
- Batch size: Store in small portions to avoid repeatedly opening a large jar and letting in air.
- Vacuum sealing: For long-term storage, a vacuum sealer is a good investment, especially for bulk batches.
What I Would Use at Home
Your choice of dehydration method depends on your kitchen setup, how much you want to preserve, and your budget.
For Occasional Use or Small Batches
If you only need to dry a handful of apples, a few chillies, or some fresh herbs, your air fryer is the most practical option. It’s quick, energy-efficient, and doesn’t require extra kit. Just make sure your model can run at a low enough temperature and monitor the process to avoid over-drying.
For Larger Quantities or Regular Use
For those with allotments or gardens producing regular gluts, a dedicated dehydrator is a wise investment. The initial outlay pays for itself over time, and you’ll appreciate the consistent results and convenience. Look for a model with adjustable trays and a timer for maximum flexibility.
For Bulk Drying Without New Gadgets
If you want to process a big batch without buying new appliances, oven drying is the way to go. It’s ideal for one-off sessions after a bumper harvest, though it’s less energy-efficient and requires more hands-on attention. Use a fan oven and rotate trays for best results.
Practical Tips for UK Kitchens
- Start small: Try a test batch to understand drying times and results with your chosen method.
- Uniform slicing: Invest in a mandoline slicer for even slices, which dry more consistently.
- Dry in good weather: If your kitchen is humid, consider running a dehumidifier or drying on a dry, breezy day.
- Log your results: Keep a notebook of what you dried, how long it took, and any adjustments needed for next time.
- Store wisely: Use smaller jars or bags to reduce the risk of moisture getting into the whole batch.
For those who enjoy preserving, a dehydrator can become one of those kitchen gadgets actually worth the drawer space.
Choosing the Right Tools and Accessories
Mandoline Slicers
Uniform slices are crucial for even drying. A mandoline slicer speeds up prep and ensures consistency, especially for apples, potatoes, or courgettes. Choose a model with adjustable thickness and a hand guard for safety.
Racks and Mesh Inserts
If drying in an oven or air fryer, wire racks or mesh inserts improve airflow and prevent sticking. For herbs and small berries, mesh screens stop items from falling through.
Vacuum Sealers
For long-term storage, a vacuum sealer removes air and extends shelf life. This is especially useful in the UK’s damp climate, where moisture can creep into jars and bags.
Thermometers
An oven thermometer helps monitor the actual temperature inside your oven or dehydrator, which can vary from the dial setting. This is important for food safety and consistent results.
Safety Caveats and Common Pitfalls
Watch for Overheating
Drying food at too high a temperature can cook rather than dehydrate, leading to tough, brittle, or burnt results. Always use the lowest setting and check regularly.
Avoid High-Fat Foods
Foods with high fat content (e.g., avocados, some sausages, oily fish) do not dehydrate well and can go rancid quickly. Stick to lean meats, fruit, vegetables, and herbs.
Cleanliness is Key
Wash hands, knives, and cutting boards thoroughly before preparing food for drying. Mould spores and bacteria can survive the drying process if hygiene is poor.
Don’t Rush the Process
It’s tempting to turn up the heat to speed things along, but this can seal the outside of the food and trap moisture inside, leading to spoilage. Patience pays off.
Frequently Asked Questions
Can I dehydrate food in any air fryer? Many air fryers can dehydrate food if they have a low enough temperature setting (around 50–60°C). Check your model’s manual or try a small batch to see if it works for you.
How do I know when food is fully dehydrated? Dried food should feel leathery or crisp, with no soft or sticky spots. Let it cool before testing, as food firms up as it cools.
Is it cheaper to dehydrate food at home or buy dried snacks? Dehydrating at home can be cheaper, especially if you’re using surplus produce. It also lets you control ingredients and avoid additives found in shop-bought snacks.
What foods can I dehydrate at home? Most fruit, vegetables, herbs, and even cooked meats (like jerky) can be dehydrated. Avoid high-fat foods, as they don’t dry well and can spoil quickly.
How should I store dehydrated food? Store in airtight containers in a cool, dark place. For longer shelf life, consider vacuum sealing or refrigerating, especially for foods with a bit more moisture.