A heavy loaf is easier to troubleshoot once you know how it failed. Let it cool, then check its height, centre and top. Compare the recipe and programme with your exact bread maker’s manual; on the next bake, change one thing at a time.
Keep a photo of the cooled, sliced loaf alongside the recipe, programme and ingredient weights. The patterns below suggest where to check first; several causes can produce the same result.
- Short and evenly baked
Possible cause: the recipe, flour, yeast or programme may have limited the rise; a small batch can also look low in a large pan.
First safe check: compare the ingredient weights, loaf size and programme with your model’s manual. - Wet centre
Possible cause: the batch may be too large or wet, or the bake cycle may have stopped early.
First safe check: leave clearly raw dough uneaten; check the batch size, measured liquid and whether the full cycle finished. - Sunken top
Possible cause: excess liquid or yeast, warmth or a long delay may have affected the rise.
First safe check: compare the recipe and delay setting with your manual before changing ingredients.
In This Article
- Why is my bread maker bread dense? Identify the symptom
- Recheck the recipe and loading order
- Check flour, yeast and liquid
- Match the programme and loaf size
- When to check the bread maker itself
- Make one controlled change on the next loaf
- The bottom line
- Frequently Asked Questions
Why is my bread maker bread dense? Identify the symptom
Cut the loaf only after it has cooled. Hot bread can feel gummy and compress under the knife even when it is baked through. Then look at its height, the shape of the top and the texture across a slice. A tight crumb by itself is not a diagnosis. A compact wholemeal loaf and a failed white loaf can look similarly short for different reasons.
Short but evenly baked
A short loaf with a fairly even, fine crumb suggests a rise or dough-strength problem. Recheck the size of the batch, the flour and yeast specified in the recipe, and the programme used. If a small recipe is baked in a large pan, the finished loaf can also look unusually low without being a failure. Our bread-maker loaf-size guide explains why the selected loaf weight and flour weight are different numbers.
Wet, heavy centre or a line of uncooked dough
A wet centre needs a different response from a simply compact but fully baked loaf. Check that the recipe quantity fits the pan and programme, that liquids were weighed or measured as the manual directs, and that the cycle finished. If the top is pale too, the wrong programme or an interrupted bake may matter. Resist the temptation to taste clearly raw dough. For the next batch, return to a recipe supplied for the machine before changing the baking time yourself.
A sunken top with a tight lower half
A loaf can expand and then collapse, leaving a crater or wrinkled top and compressed crumb below. Too much liquid, too much yeast for the recipe, a warm kitchen or a long delay can all be candidates, depending on the formula. It would be misleading to prescribe a universal amount of flour or yeast from the photograph alone. Note which stage the loaf reached and compare the recipe with the manual’s permitted settings.
These descriptions are starting points, not a fault code. King Arthur Baking’s bread-machine guide emphasises that the machine’s pan and cycle depend on a workable dough, and recommends checking the dough during its early knead if the model allows it. Keep hands and utensils clear of moving parts; only inspect as the manual permits.

Recheck the recipe and loading order
Use a recipe written for your machine, or one whose ingredient quantity and loaf size the manufacturer explicitly supports. Bread makers automate a schedule; they do not judge whether a copied recipe is too wet, too large or designed for a different yeast. A recipe intended for hand kneading or an oven tin may need changes before it is suitable for an automatic pan. That makes the original, model-specific white loaf a sensible baseline.
Weigh before you adjust
Weigh flour in grams rather than scooping it into a cup. A packed cup can contain far more flour than a loosely filled one, turning an otherwise sound recipe stiff. Measure water and other liquids as the recipe specifies. Check whether a stated weight belongs to the flour, the dough or the final loaf; those quantities are not interchangeable. Write down your actual amounts rather than relying on memory after the cycle ends.
The mixing pan should have enough room for the recipe’s largest expected rise. Doubling a smaller loaf recipe is unsafe if it exceeds the model’s capacity and can also disrupt kneading. Conversely, a small batch may sit below the paddle’s effective working range in a big pan. Use the manual’s stated range and the matching weight setting. Our bread-maker programmes guide separates menus from weight and crust controls so you can check each independently.
Follow your model’s ingredient order
Some manuals put liquid in first, then dry ingredients, with yeast kept away from the liquid until the cycle starts; other designs may differ. The correct order is the one for your machine and recipe. It is especially important for a delayed start, when ingredients sit in the pan before mixing. Do not assume an online recipe’s loading order transfers to a different model.
For a concrete example rather than a universal recipe, the Tefal Pain & Délices manual lists separate basic-white quantities for its supported loaf sizes and shows how its programmes and controls interact. Those quantities and timings apply to that model; use the recipe and settings for yours. If your own manual is missing, search the manufacturer’s support page by the model number printed on the appliance, not just the brand.
Start with a known-good batch
Make one ordinary basic white loaf exactly as the manufacturer specifies before experimenting with wholemeal flour, seeds, milk substitutions or a shorter cycle. A baseline tells you whether the machine, ingredients and basic programme can work together. It is a diagnostic bake, not a promise that the manufacturer recipe will suit every taste. If the baseline works and your adapted loaf does not, the difference between those formulas becomes your lead.
Check flour, yeast and liquid
Dense bread often comes down to the dough’s ability to hold gas during the rise. Flour type, the condition and amount of yeast, and the liquid balance all influence that. They interact, which is why changing all three at once makes the next loaf less informative.
Flour: use the type named in the recipe
For a standard white bread-maker recipe, use the bread flour or strong white flour the recipe calls for. Plain flour may behave differently, and swapping in a high proportion of wholemeal flour changes water absorption and structure. Wholemeal bread can legitimately be denser than a white sandwich loaf, but a recipe designed for wholemeal and the appropriate programme should still produce a sliceable loaf. If the recipe uses rye, spelt or a gluten-free blend, follow its own method rather than treating it as a one-for-one substitute for strong white flour.
Check the bag and its date. Flour stored badly can absorb moisture or develop off smells. For diagnosis, first check whether you used the specified flour type and amount. For machine choices, see our bread-maker buying guide, which serves a different reader decision.
Yeast: type, age and amount matter
Use the yeast type named by the recipe, such as instant or easy-bake dried yeast where specified. The same-looking sachets may not be used in exactly the same way. Check the use-by date and storage instructions. An old opened pack is a plausible cause of poor rise, but a short loaf does not prove that the yeast is dead. Too much yeast can also encourage over-expansion followed by collapse, particularly when other conditions change. Do not add an arbitrary extra spoonful to compensate for uncertain flour or programme choices.
If your machine has a yeast dispenser, make sure it releases as its manual describes. A reminder beep is different from an automatic dispenser. For a machine without one, check the recipe’s loading order and whether a delayed start was used. The same yeast can behave differently when it sits in contact with liquid for hours before the knead. This is one reason to compare a straightforward immediate-start loaf before repeating an overnight version.
Liquid: look at the dough, within the manual’s limits
Flour absorbs water differently, and milk, eggs, butter and sweeteners alter a formula. If the early knead is accessible under the manufacturer’s instructions, the developing dough may show whether it is a cohesive ball, a dry mass that cannot gather flour, or a loose smear. King Arthur’s guide uses this early dough check as a way to catch a mismatch before baking. It is a useful observation, not permission to reach into an operating machine or to add large amounts of liquid by guesswork.
Make only a small, documented adjustment if your recipe and manual permit it. If the dough is dry, check the measured liquid first; if it is overly sticky, check whether flour was under-weighed. A tablespoon-sized correction is not a universal fix, because pan size and recipe weight vary. Record any change so you can repeat a successful loaf.
Match the programme and loaf size
“Basic”, “rapid”, “wholemeal” and “dough” are different jobs. A dough-only programme usually stops before baking. A rapid cycle may use a shorter rise and a recipe written for that schedule. Wholemeal programmes can have different rest and proof stages. Selecting the menu that sounds closest to the flour name is a start, but the recipe and programme must be paired as the manual directs.
The rapid-cycle trap
If you used a standard loaf recipe with an express programme, try the standard menu before changing ingredients. A shorter cycle gives the dough less time to develop and rise; some makers provide a distinct rapid recipe. Tefal’s manual, for instance, separates basic white from rapid basic white. This does not establish that all rapid loaves are dense, only that the programmes should not be treated as interchangeable. Our programme guide gives the detail without turning this fault-finding page into another settings catalogue.
The loaf-size control is not a recipe converter
Selecting “large” does not turn a small recipe into a large one. It changes the programme’s handling of a batch the recipe should already define. Check the flour quantity and capacity first, then select the corresponding size and crust option if the model allows it. A loaf that repeatedly crowds the lid or sinks after overfilling needs its batch size corrected, not a darker crust setting.
If the bread is pale and underbaked as well as dense, confirm that the full baking stage ran. A power interruption, a dough-only menu or a manually stopped cycle may explain that result. Consult the appliance manual before using a bake-only programme to finish a loaf: the safe route depends on how far the dough rose and whether it is still in good condition. Never bypass a fault or open electrical parts to rescue one batch.
Wholemeal and special-diet recipes have their own rules
Wholemeal dough often needs a recipe and programme designed for its flour, not a direct swap into white bread instructions. Gluten-free mixes need their own method; a machine’s gluten-free button is not a guarantee that an arbitrary mix will work or that shared equipment is safe for someone avoiding cross-contact. For starter-led bread, a sourdough label may mean several different workflows. The sourdough programmes and limits guide covers that separate issue. Keep this diagnostic guide focused on a conventional machine loaf unless your recipe is explicitly for another style.
When to check the bread maker itself
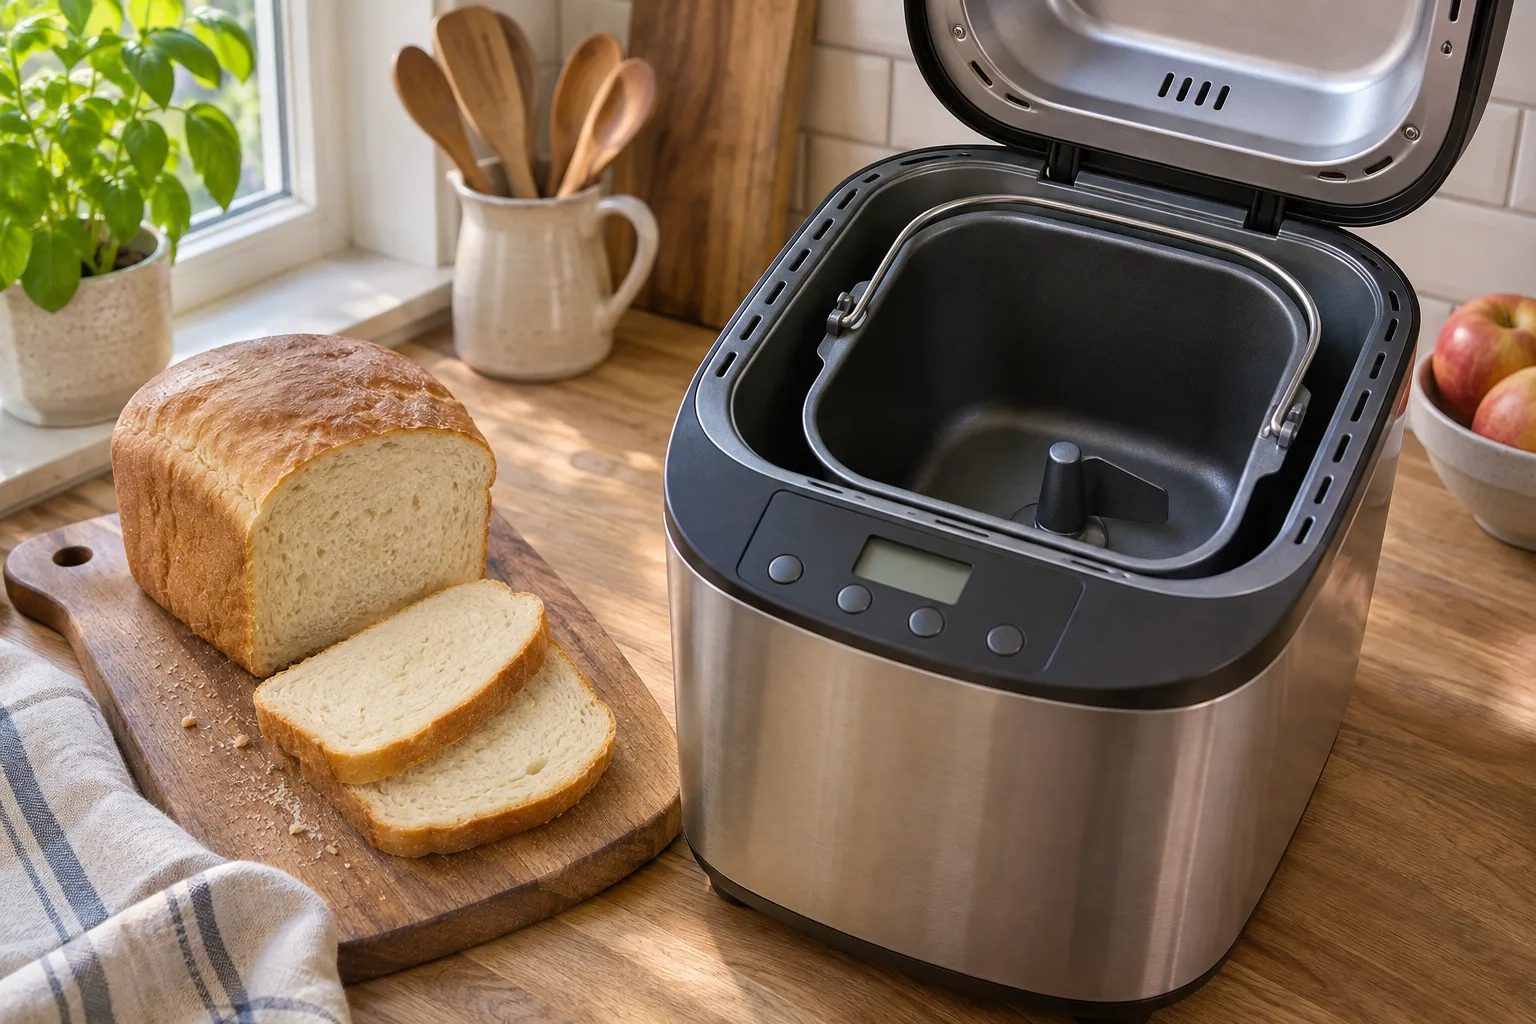
Ingredients and settings are the first checks, but repeat failures with a verified recipe can point to the appliance. Start with things you can see without dismantling it. Check that the pan is seated, the kneading paddle is fitted correctly, and the programme actually starts. If the dough remains as separate flour and water after the kneading stage, investigate whether the paddle turned and whether the pan drive engaged. Some models beep or pause as part of their normal cycle, so compare the behaviour with the manual rather than assuming every quiet minute is a fault.
A simple repeatability test
Use the same manufacturer recipe, fresh ingredients, measured amounts, immediate start and correct basic programme for two attempts. Photograph the dough early only if inspection is permitted, and photograph the finished loaf after cooling. If both attempts fail in the same way despite those controls, document the model, serial number, cycle and any error code for the manufacturer’s support team. That evidence is more useful than saying the machine “always makes bad bread.”
If the paddle does not move, a cable or casing is damaged, the machine smells of burning, or a fault code recurs, stop using it and seek manufacturer support or an appropriately qualified repair. Unplug before removing the pan or cleaning as the manual instructs. Do not reach into the heated chamber, force the drive or open the housing. A replacement pan or paddle may be available, but confirm the exact model and part number before spending money.
Do not mistake a different loaf style for a fault
Machine loaves are baked in a pan, often with a paddle hole. A compact crumb compared with a hand-shaped, oven-baked artisan loaf may be an expected recipe and process difference. Our bread maker versus oven guide helps you choose a routine, while this check asks whether your current loaf matches its intended recipe rather than a bakery sourdough.
Make one controlled change on the next loaf
Write a short bake log before starting another batch: model number, recipe source, flour and yeast type, ingredient weights, programme, loaf-size and crust settings, start time, kitchen conditions, and the result. You do not need laboratory equipment. A kitchen scale, the manual and a phone photograph are enough to make the next loaf more informative.
Then choose the smallest meaningful test. If the recipe came from a different machine, switch to the manufacturer’s recipe while keeping fresh ingredients. If you used the rapid menu with a standard recipe, use the basic menu. If you used plain flour where the recipe specifies strong bread flour, change the flour and leave the rest alone. If the first loaf was cut steaming hot, let the next one cool fully before judging the crumb. Changing several variables can produce a better loaf, but it will not tell you which change helped.
A useful result is more than height
Compare the cooled loaf’s height, top shape, evenness and slice texture. Make a note of how it tastes and whether it slices for the job you wanted, such as sandwiches or toast. A tall loaf can still be underbaked or fragile; a shorter wholemeal loaf can be perfectly usable. If the second attempt improves, repeat it before declaring the recipe solved. If it fails in the same way, move to the next plausible cause or contact support with the log.
Avoid replacing the machine simply because one unfamiliar recipe failed. The main bread-maker comparison is useful if your model cannot make the loaf size or programme you want, or if support confirms a repair is uneconomic. For one dense batch, the lower-cost first move is usually a controlled recipe and setting check.
The bottom line
For an evenly baked but low loaf, verify the recipe weight, flour, yeast and programme. For a wet centre, check batch size, liquid and whether the bake finished. For a sunken top, inspect the formula and delay settings before adding anything. Use your exact model’s manual as the reference, make one change and keep a record. If a correctly measured manufacturer recipe repeatedly fails and the pan or paddle behaves abnormally, stop and ask the manufacturer to investigate.
Frequently Asked Questions
Why is my bread maker loaf heavy even when it rises? A loaf can rise yet have a tight crumb because the recipe, flour, liquid and programme are not working together. Let it cool, compare the slice and top shape with the recipe’s expected result, then check one variable at a time.
Should I add more yeast to fix dense bread? Not automatically. Check the yeast type and age, the measured amount and the recipe first. Extra yeast can change the rise and may contribute to a collapsed top rather than solving the original problem.
Can plain flour make bread maker bread dense? It can behave differently from strong bread flour in a recipe written for the latter. Use the flour type specified by your machine’s recipe for a controlled comparison before changing other ingredients.
Does the rapid programme make bread denser? Rapid programmes change the timing, and some need their own recipe. If a standard recipe produced a dense loaf on rapid, try its matching basic programme before concluding the machine is faulty.
Is bread maker bread meant to be denser than oven bread? Pan shape, recipe and cycle can produce a different crumb from a hand-shaped oven loaf. Judge a machine loaf against its intended recipe rather than an unrelated artisan loaf.
When should I contact the bread maker manufacturer? Contact support if a correctly measured manufacturer recipe repeatedly fails, the paddle does not turn, a fault code recurs, or the appliance shows damage or a burning smell. Stop using an unsafe machine and do not open its electrical housing.