You’ve wiped down the kitchen surfaces, loaded the dishwasher, and the room looks clean. Then you pull out the oven tray and there’s a centimetre of baked-on grease from six months of Sunday roasts. The toaster has crumbs dating back to the previous tenant. And the inside of the microwave looks like a crime scene. Surface cleaning is maintenance — deep cleaning is the reset your kitchen appliances need a few times a year to work properly and not actively disgust you.
In This Article
- Why Deep Cleaning Kitchen Appliances Matters
- How to Deep Clean Your Oven
- How to Deep Clean Your Fridge and Freezer
- How to Deep Clean Your Dishwasher
- How to Deep Clean Your Microwave
- How to Deep Clean Your Washing Machine
- How to Deep Clean Small Appliances
- Cleaning Products That Actually Work
- A Deep Cleaning Schedule
- Frequently Asked Questions
Why Deep Cleaning Kitchen Appliances Matters
It’s not just about aesthetics. Built-up grease in your oven is a fire risk. Old food particles in your dishwasher harbour bacteria that transfer to your “clean” plates. A grimy fridge reduces cooling efficiency and increases energy consumption. And a washing machine that smells musty is actively depositing bacteria and mould spores on your clothes.
Performance
Appliances work harder when they’re dirty. A fridge with dusty condenser coils uses up to 25% more energy. An oven with baked-on residue distributes heat unevenly. A kettle furred with limescale takes longer to boil and wastes electricity. Deep cleaning restores the performance the manufacturer intended.
Hygiene
The Food Standards Agency recommends regular deep cleaning of food preparation areas and appliances to prevent cross-contamination. Your fridge, in particular, should be deep cleaned every 3-4 months — it’s the one appliance where raw meat, dairy, and fresh produce share enclosed space.
Longevity
A well-maintained appliance lasts years longer than a neglected one. Replacing a fridge costs £400-800. Spending 30 minutes cleaning it four times a year is a worthwhile investment.
How to Deep Clean Your Oven
The job everyone puts off the longest. A proper oven deep clean takes about an hour of hands-on time, plus overnight soaking.
The Natural Method (Bicarbonate of Soda)
- Remove everything: shelves, trays, the thermometer, anything removable. Put shelves in the bathtub or a large plastic box
- Make a paste: mix half a cup of bicarbonate of soda with enough water to form a thick, spreadable paste
- Coat the interior: wearing rubber gloves, spread the paste over every interior surface except the heating elements. Focus on the worst grease patches — the paste will turn brown as it absorbs the grime
- Leave overnight: 12 hours minimum. The alkaline paste breaks down baked-on grease while you sleep
- Wipe out: use a damp cloth to remove the paste and dissolved grease. A plastic scraper helps with stubborn patches. Don’t use metal scrapers — they scratch enamel
- Spray with white vinegar: the vinegar reacts with remaining bicarbonate, fizzing and lifting the last residue. Wipe clean
- Clean the shelves: soak overnight in hot water with washing-up liquid and bicarbonate of soda. Scrub with a non-scratch scouring pad. For tough baked-on grease, use a specialist oven rack cleaner (about £5 from Tesco or Amazon UK)
The Commercial Cleaner Method
If you want faster results, commercial oven cleaners (Oven Pride, Mr Muscle Oven Cleaner) dissolve grease in 1-4 hours instead of overnight. They’re caustic — wear rubber gloves, open a window, and follow the instructions exactly. I use the bicarbonate method for routine cleans and commercial cleaner twice a year for the heavy-duty reset.
Self-Cleaning Ovens
Pyrolytic ovens heat to 500°C and burn off residue, turning it to ash you wipe away. Catalytic liners absorb and break down grease during normal cooking. If your oven has either feature, use it — but you’ll still need to clean the shelves, door glass, and seals manually.
How to Deep Clean Your Fridge and Freezer
Fridge
- Empty everything. Check dates while you’re at it — be honest about that jar of olives from 2024. Put perishables in a cool bag with ice packs
- Remove all shelves and drawers. Wash in warm soapy water in the sink. For stubborn stains, soak in a solution of bicarbonate of soda and warm water for 15 minutes
- Wipe the interior: use a solution of warm water and bicarbonate of soda (2 tablespoons per litre). This cleans without leaving chemical residues near food. Pay attention to the back wall (where drips collect), the door seals (where mould grows), and the drip tray underneath if your fridge has one
- Clean the door seals: use an old toothbrush dipped in the bicarbonate solution. The folds of the rubber seal trap crumbs, spills, and mould. If the seal is black with mould, soak the toothbrush in a weak bleach solution instead
- Dry everything before reassembling. Moisture left behind freezes on the back wall or encourages mould growth
Freezer
Deep clean your freezer every 6 months or whenever ice build-up exceeds 5mm:
- Transfer frozen food to cool bags or a neighbour’s freezer
- Unplug the freezer and open the door. Place towels on the floor to catch melt water
- Let it defrost naturally. Don’t use a hairdryer or hot water on frost — you risk damaging the cooling coils. A bowl of hot water placed inside with the door closed speeds things up safely
- Once defrosted, wipe the interior with the same bicarbonate solution used for the fridge
- Dry thoroughly, plug back in, and wait 2 hours for the temperature to drop before restocking

How to Deep Clean Your Dishwasher
Your dishwasher cleans your dishes, but nothing cleans your dishwasher. Over time, food particles, grease, and limescale accumulate in the filter, spray arms, and door seals.
Monthly Maintenance
- Clean the filter. Twist and remove the filter from the bottom of the machine. Rinse under running water, scrubbing with an old toothbrush to remove trapped food. This is the single biggest cause of smelly dishwashers
- Check the spray arms. Remove them if possible and clear any blocked holes with a toothpick or cocktail stick. Food particles and limescale clog the holes, reducing water pressure and leaving dishes dirty
- Wipe the door seal with a damp cloth and washing-up liquid. The rubber gasket around the door collects grime, especially at the bottom
- Run an empty hot cycle with a dishwasher cleaner (Finish Dishwasher Cleaner, about £3) or a cup of white vinegar placed upright on the top rack. This dissolves grease and limescale in the internal plumbing
The Limescale Problem
In hard water areas, limescale builds on the heating element and internal surfaces. Use dishwasher salt (even if you use all-in-one tablets — they don’t contain enough salt for hard water) and run a cleaning cycle monthly with a citric acid-based cleaner. Our guide to organising a small kitchen includes tips on making appliance maintenance quick and painless.
How to Deep Clean Your Microwave
The quickest deep clean of any appliance — 10 minutes start to finish.
The Steam Method
- Fill a microwave-safe bowl with 500ml of water and the juice of one lemon (or 2 tablespoons of white vinegar)
- Microwave on high for 5 minutes. The water boils, producing steam that softens baked-on food splatter. The lemon cuts grease and makes the kitchen smell decent
- Leave the door closed for 2 minutes — the trapped steam continues working
- Open and wipe. Everything should come off with a damp cloth and minimal effort. For stubborn spots, dip the cloth in the lemon water and scrub gently
- Remove and clean the turntable in warm soapy water
Prevention
Cover food when microwaving. A microwave cover (about £5 from Wilko or Amazon UK) prevents 95% of splatter. Five seconds of prevention saves five minutes of cleaning.
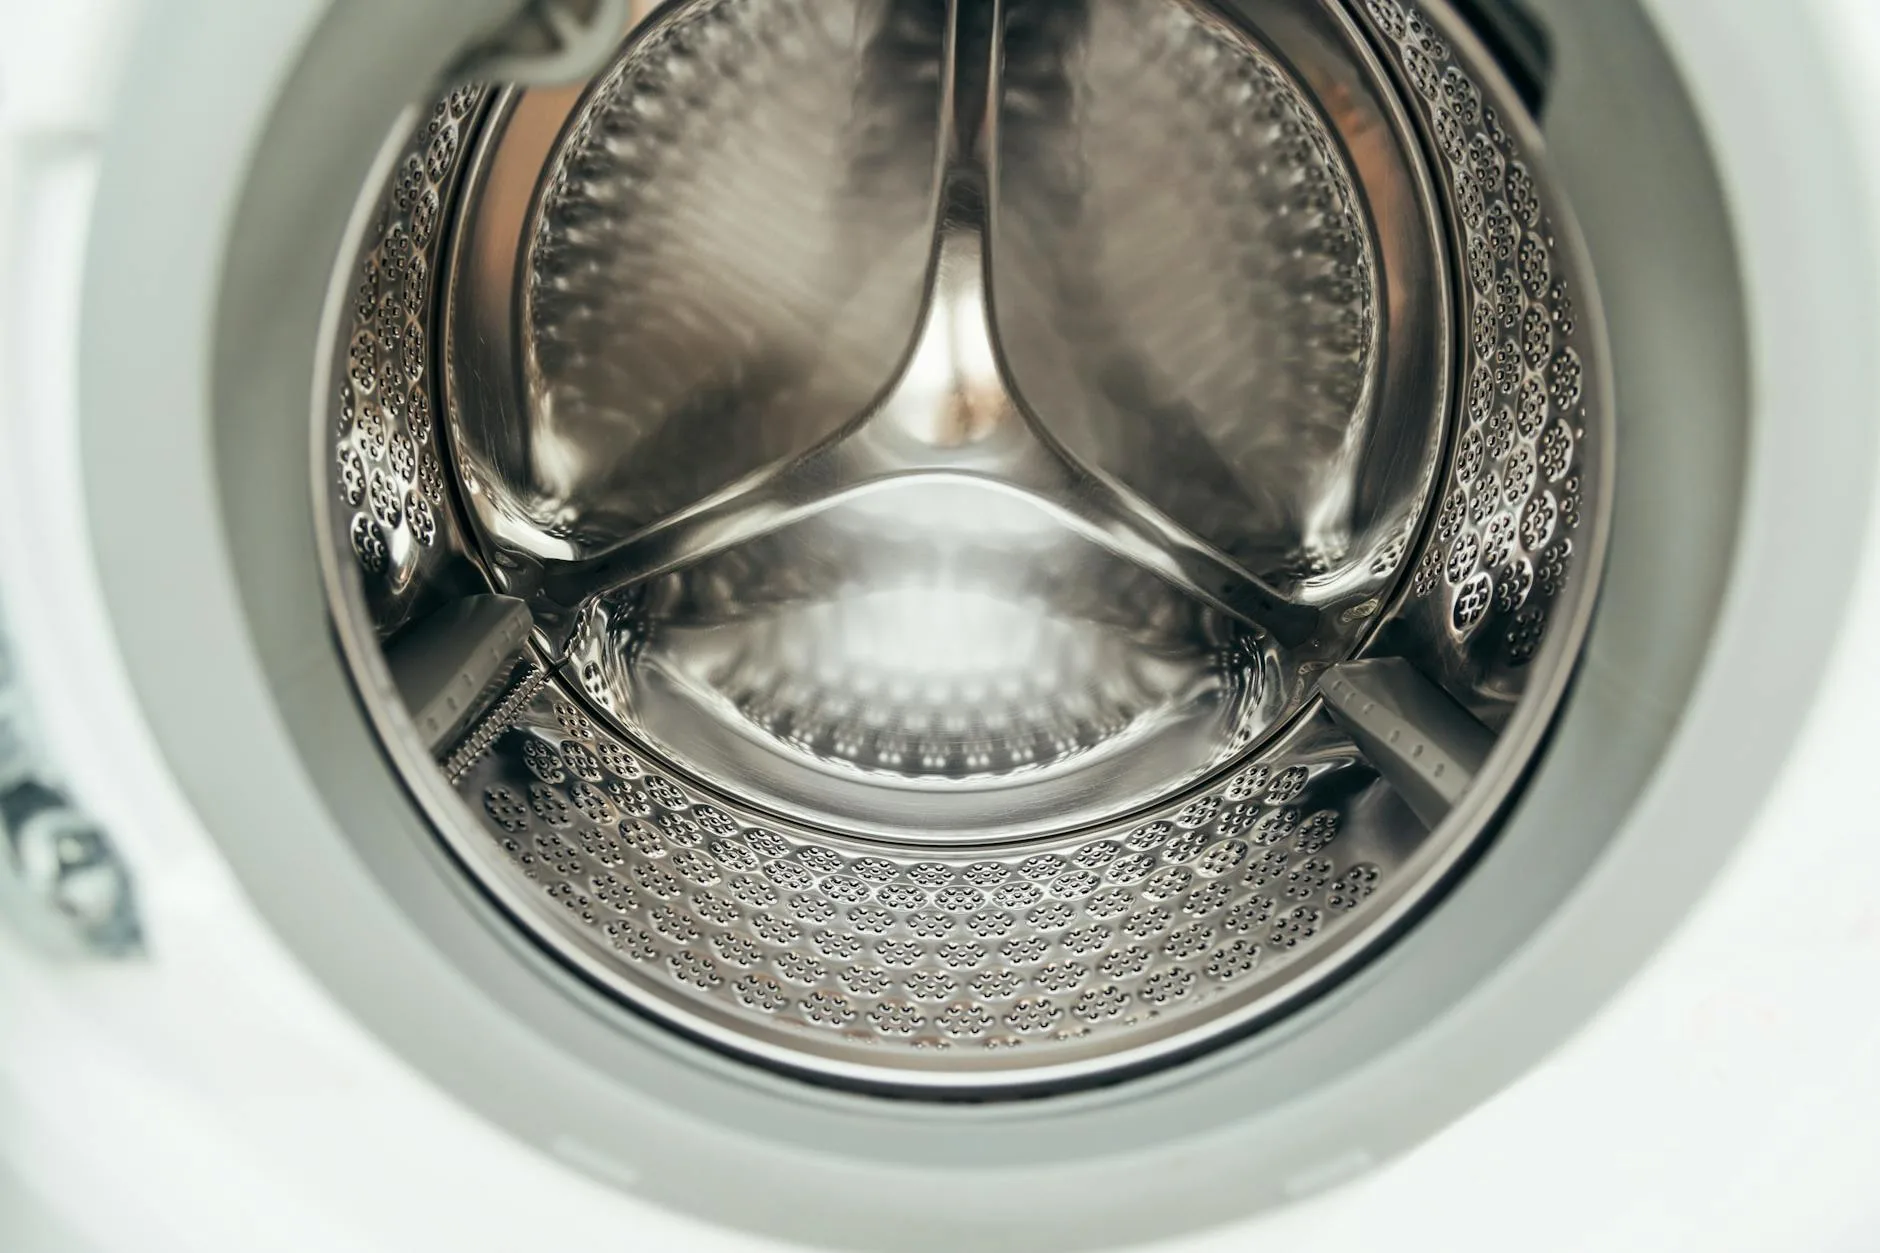
How to Deep Clean Your Washing Machine
A dirty washing machine transfers bacteria, mould spores, and odour to your clothes. If your towels smell musty even after washing, the machine is the problem.
The Hot Wash Method
- Run an empty cycle at 90°C with a washing machine cleaner (Dr Beckmann Service-It, about £4) or 500ml of white vinegar in the drum. The hot water and cleaner kill bacteria and dissolve soap scum in the pipes and drum
- Clean the detergent drawer. Pull it out completely (most have a release tab). Soak in hot soapy water and scrub with an old toothbrush. The drawer channels clog with hardened detergent and develop mould — this is often the source of the musty smell
- Wipe the door seal. The rubber gasket on front-loaders traps water, hair, coins, and mould. Peel back the seal and wipe inside the folds with a cloth dampened in a mild bleach solution. I found a £2 coin, a hair band, and something unidentifiable in mine last time
- Clean the filter. Usually behind a small panel at the front bottom of the machine. Place a towel and shallow dish underneath (water will drain out), unscrew the filter, remove any trapped debris, and replace
Ongoing Prevention
- Leave the door ajar after each wash to let the drum dry. Closed doors trap moisture and breed mould
- Use the correct amount of detergent. Too much creates excess suds that leave residue inside the machine
- Run a 60°C+ wash at least once a month — bacteria thrive in the 30-40°C washes that are popular for energy saving. For more on cookware that handles washing well, our guide to making non-stick pans last longer covers proper care techniques.
How to Deep Clean Small Appliances
Kettle
Descale monthly in hard water areas:
- Fill with equal parts water and white vinegar (or a tablespoon of citric acid per litre of water)
- Boil, then leave for 30 minutes
- Rinse thoroughly — boil a full kettle of clean water and discard it before making tea. Nobody wants vinegar tea
Toaster
- Unplug and cool completely
- Remove and empty the crumb tray — shake it out and wipe clean
- Turn the toaster upside down over a bin and shake gently to dislodge trapped crumbs
- Wipe the exterior with a damp cloth. Don’t submerge the toaster or spray cleaning products inside
Air Fryer
- Remove the basket and tray — wash in warm soapy water or put in the dishwasher if your model allows
- Wipe the heating element above the basket with a damp cloth. Grease splatters collect here and create smoke on the next cook
- Clean the exterior with a damp cloth and mild kitchen cleaner
Blender
- Fill halfway with warm water and a drop of washing-up liquid
- Blend on high for 30 seconds — the blades clean themselves
- Rinse and dry. For stubborn residue around the blade assembly, disassemble and soak in warm soapy water
Cleaning Products That Actually Work
The Essentials
- Bicarbonate of soda — about £1 per box from any supermarket. Non-abrasive, deodorising, mildly alkaline. Works on ovens, fridges, microwaves, and sinks
- White vinegar — about £1 per litre. Dissolves limescale, cuts grease, deodorises. Don’t mix with bicarbonate for cleaning power (the acid and alkali neutralise each other) — the fizzing looks impressive but the reaction produces salt water
- Washing-up liquid — you already have this. Good for general appliance cleaning
- Citric acid — about £5 per kg from Amazon UK. Better than vinegar for descaling because it rinses cleaner and doesn’t leave an aftertaste in kettles
Worth Buying
- HG Oven Cleaner — the professional-grade option. Cuts through years of baked-on grease in 30 minutes. About £6 from Amazon UK
- Dishwasher cleaner tablets — Finish or Dr Beckmann. Monthly use prevents build-up. About £3-5 for 3-6 treatments
- Bar Keepers Friend — powdered oxalic acid cleaner. Brilliant for stainless steel appliances, removing water marks and restoring shine. About £3 from most supermarkets
A Deep Cleaning Schedule
- Weekly — wipe exterior surfaces, empty crumb trays, wipe microwave interior, clean fridge spills
- Monthly — descale kettle, clean dishwasher filter and run a cleaning cycle, clean washing machine with a hot wash
- Quarterly (every 3 months) — deep clean fridge interior, deep clean oven, deep clean washing machine seal and drawer
- Twice a year — defrost freezer, deep clean behind and under appliances, clean oven shelves
Mark it in your calendar or set a phone reminder. The quarterly clean takes about 2 hours total across all appliances — split it across a Saturday morning and it’s done before lunch.
Keep reading on KitchenGearUK: How to Organise a Small Kitchen for Efficiency, How to Clean an Air Fryer Properly, How to Make Non-Stick Pans Last Longer, Kitchen Gadgets That Are Actually Worth the Drawer Space.
For oven kit that takes a particular beating, the guide to best baking trays and sheets explains which materials clean up best after roasting and baking.
Frequently Asked Questions
Can I use bleach to clean kitchen appliances? Diluted bleach (1 tablespoon per litre of water) is safe for fridge interiors, washing machine seals, and dishwasher doors. Don’t use it on stainless steel — bleach corrodes stainless over time. Never mix bleach with vinegar — the combination produces chlorine gas, which is toxic. Rinse thoroughly after using bleach anywhere near food surfaces.
Why does my dishwasher smell bad even though I run it daily? The filter is very likely clogged with food debris. Remove it, clean it under running water, and run an empty hot cycle with dishwasher cleaner. Also check the spray arms for blocked holes — trapped food decomposes and creates the smell.
How often should I descale my kettle? In hard water areas (London, South East, East Anglia), every 2-4 weeks. In soft water areas (Scotland, South West), every 2-3 months. If you see visible white flakes in your tea or hear the kettle working harder to boil, it’s overdue.
Is it safe to clean the oven with bicarbonate of soda? Yes — it’s one of the safest oven cleaning methods. Bicarbonate of soda is mildly abrasive and alkaline, which dissolves grease without producing fumes. It takes longer than commercial cleaners (overnight vs 1-4 hours) but it’s non-toxic and safe around food preparation areas.
Do self-cleaning ovens still need manual cleaning? Partially. The pyrolytic or catalytic cleaning handles the oven interior, but you still need to manually clean the shelves, door glass (especially between the glass panels), door seal, and any areas the self-clean doesn’t reach. Plan on manual cleaning every 3-4 months alongside the self-clean cycles.