You’ve unpacked your stand mixer, attached the dough hook, and you’re ready to bake. But as the dough wraps itself around the hook, the mixer labours, or the results aren’t quite what you expected, it’s clear there’s a knack to getting the most from this essential tool. This detailed stand mixer dough hook guide covers every practical detail UK bakers need—from choosing the right hook for your mixer, to troubleshooting dough climbing, to cleaning and care—so you can confidently turn out everything from crusty sourdough to pillowy brioche at home.
In This Article
- Types of Dough Hooks: C Hook vs Spiral
- Choosing the Right Speed and Timing for Kneading
- Dough Hydration: Matching Recipes to Your Mixer
- Why Dough Climbs the Hook (and How to Stop It)
- Understanding Bowl Size and Dough Capacity
- Cleaning and Caring for Dough Hooks
- Preventing Stand Mixer Overheating
- Which Stand Mixer Models Use Which Hook?
- Frequently Asked Questions
- Bottom Line
Types of Dough Hooks: C Hook vs Spiral
Dough hooks come in two primary designs: the C hook and the spiral hook. Both are common across UK stand mixers, but each suits different doughs, mixer models, and batch sizes.
C Hook
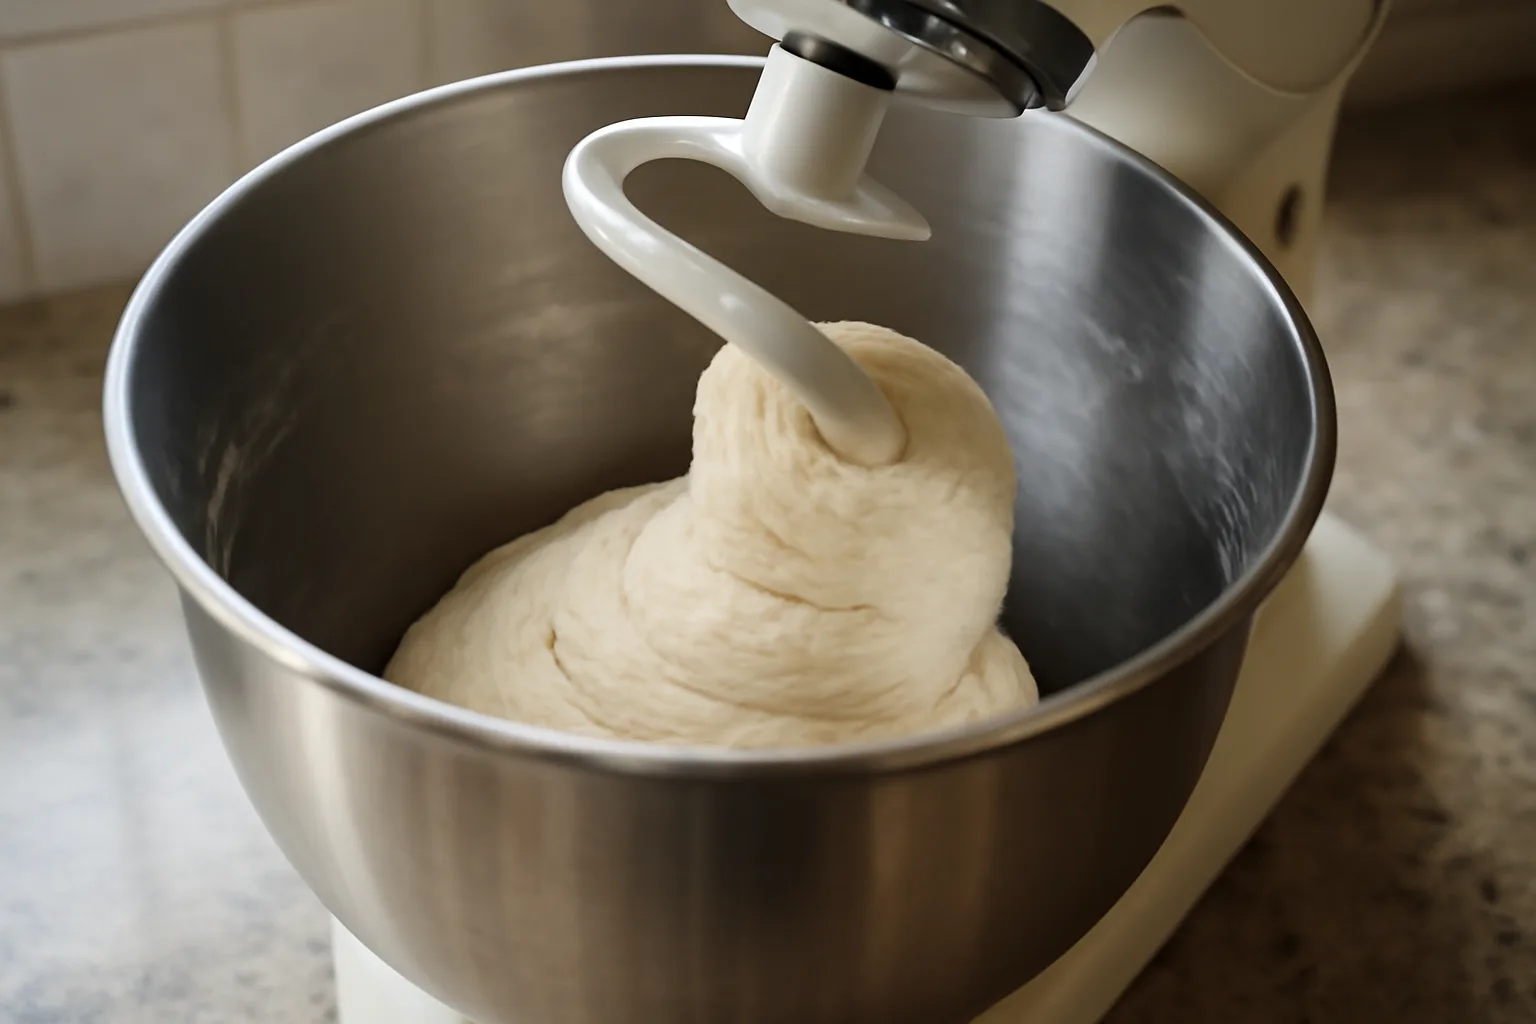
The C hook, shaped like its namesake, is the attachment you’ll find on most Kenwood Chef, Kenwood kMix, Bosch MUM series, and Smeg stand mixers. Its action mimics traditional hand kneading, scooping dough from the bowl sides and folding it over itself.
Best for:
- Most home bread doughs, especially sticky, high-hydration recipes like ciabatta or focaccia
- Smaller batches (under 1kg flour)
- Delicate enriched doughs (brioche, hot cross buns)
Watch out for:
- Dough climbing the hook, especially with small or very sticky batches
- Struggling with very stiff doughs (bagels, pretzels)
Spiral Dough Hook
Spiral hooks are standard on most KitchenAid bowl-lift models (including the UK Artisan and Professional lines) and some high-end Kenwood Chef XL mixers. The spiral hook rotates on a fixed axis, stretching and folding dough more efficiently and with less strain on the motor.
Best for:
- Large batches (over 1kg flour)
- Dense, low-hydration doughs (bagels, pretzels, pizza bases)
- Fast, consistent gluten development
Watch out for:
- Can be too aggressive for very soft or enriched doughs—monitor closely
- Not always included with entry-level mixers; check when buying
Tip: If you’re unsure which hook your mixer uses, consult your manual or the manufacturer’s website. For a full breakdown of attachments, see Stand Mixer Attachments Explained: What Each One Does.
Choosing the Right Speed and Timing for Kneading
Kneading dough in a stand mixer is about precision, not brute force. Using the wrong speed or kneading too long can ruin your dough and even damage your mixer.
Speed Settings: What UK Mixers Recommend
For nearly all stand mixers sold in the UK, kneading should be done on the lowest settings:
- KitchenAid: Speed 2 only for dough (never higher). See KitchenAid UK’s official guidance.
- Kenwood: Use ‘Min’ or speed 1 for initial mixing, then speed 2 for kneading.
- Bosch/Smeg: Lowest two speeds only.
Why low speed? High speeds can overheat the gluten, tear the dough, or stress the mixer’s gearbox. The dough hook is designed to mimic slow, rhythmic kneading, not whipping.
How Long to Knead
Kneading time depends on dough type, batch size, and mixer power. Use these as starting points:
- Standard white or wholemeal bread: 6–8 minutes
- Enriched dough (brioche, Chelsea buns): 8–12 minutes
- High-hydration doughs (focaccia, ciabatta): 5–7 minutes, with pauses to scrape the bowl
- Bagels or pretzel dough: 8–10 minutes (spiral hook preferred)
Practical check: After 5 minutes, stop and test the dough. If it’s smooth, elastic, and passes the “windowpane” test (a thin stretch without tearing), it’s ready. If not, knead in 1-minute increments, checking each time.
Signs of Over-Kneading
- Dough feels tough, tears easily, and loses its spring
- Mixer motor grows hot or labours
- Finished bread is dense and dry
Fix: Stop kneading as soon as the dough is elastic and passes the windowpane test. If in doubt, err on the side of under-kneading—dough will continue to develop during the first rise.
Note: Some UK recipes, especially older ones, may overestimate kneading time for stand mixers. Modern machines are more efficient—always check the dough’s feel, not just the clock.
Dough Hydration: Matching Recipes to Your Mixer
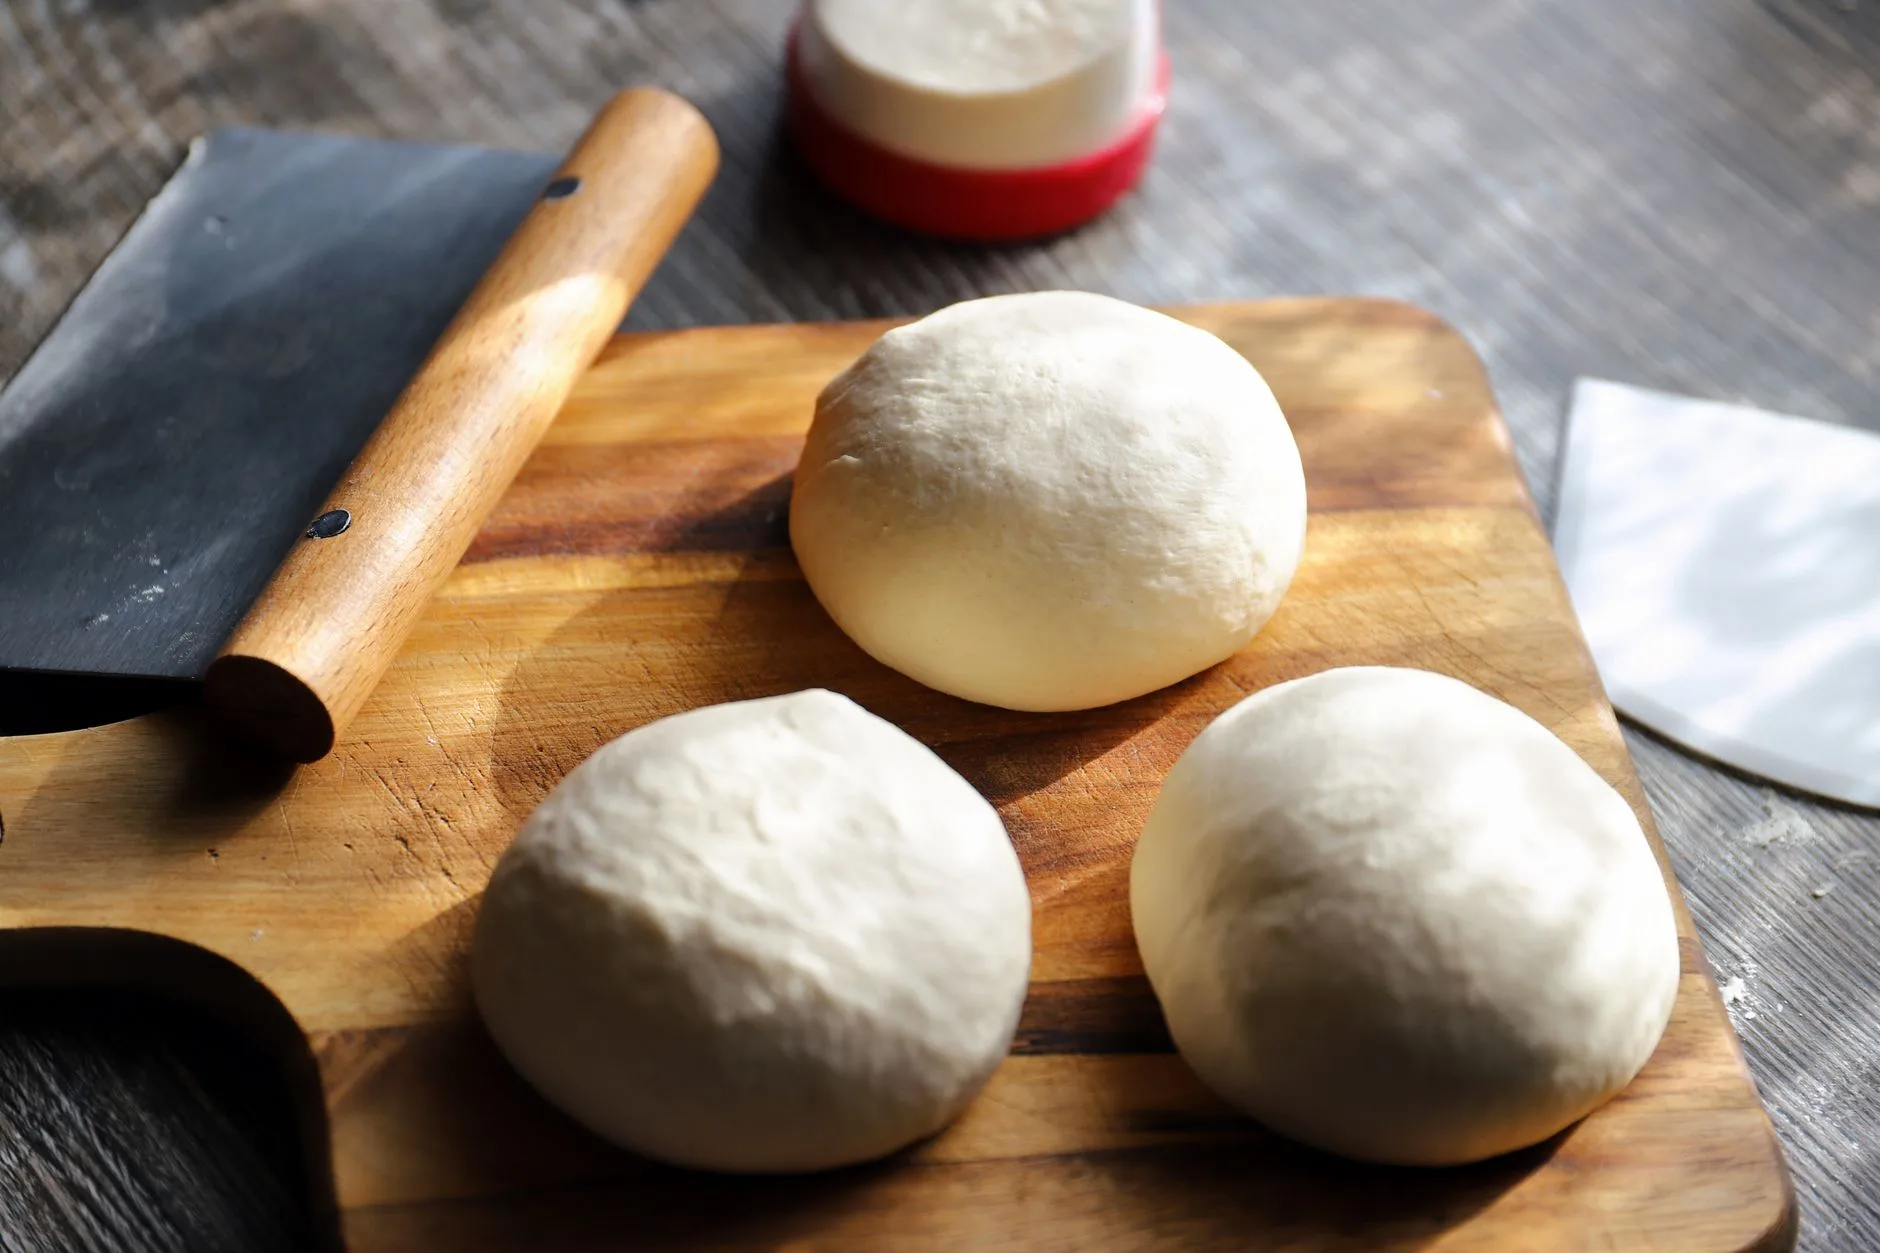
Hydration (the flour-to-water ratio) noticeably affects how your dough behaves in a stand mixer. Understanding this helps you avoid sticky messes, burnt-out motors, or disappointing loaves.
High-Hydration Doughs (70%+ Water)
Examples: ciabatta, focaccia, some sourdoughs.
- These doughs are sticky and loose.
- The C hook is usually better, as it folds rather than punches, preventing the dough from wrapping too tightly around the hook.
- Use a silicone scraper to help clear the bowl sides every few minutes.
UK tip: British strong white bread flour absorbs water differently than some North American flours. If following US recipes, you may need to reduce water by 10–20ml per 500g flour.
Medium-Hydration Doughs (60–70% Water)
Examples: classic sandwich loaves, most sourdoughs, seeded breads.
- Both C and spiral hooks work well.
- Spiral hooks speed up gluten development, but monitor dough temperature—warm dough can ferment too quickly.
Low-Hydration Doughs (<60% Water)
Examples: bagels, pretzels, some pizza doughs.
- These doughs are stiff and can strain weaker mixers.
- Spiral hooks shine here, powering through dense mixtures.
- If your mixer struggles, knead in two smaller batches or finish by hand.
Edge case: Some UK supermarket flours (e.g. Tesco’s own-brand strong white) absorb less water than premium brands (like Shipton Mill or Matthews Cotswold). If your dough seems unusually sticky or dry, adjust hydration by a tablespoon at a time.
For bread inspiration, see Stand Mixer Bread Recipes: From Sourdough to Brioche.
Why Dough Climbs the Hook (and How to Stop It)
Dough climbing the hook is a classic frustration, especially for new stand mixer owners. Here’s why it happens and how to prevent it.
Causes of Dough Climbing
- Small batch size: If the dough ball is too small, the hook can’t “catch” it, so it rides up the shaft.
- Sticky, high-hydration dough: Wet doughs naturally want to cling.
- Incorrect speed: Too high a speed flings dough upwards.
- Bowl shape: Wide, shallow bowls (common on older Kenwood models) make climbing more likely.
- Overfilling: Too much dough in the bowl can cause it to wrap around the hook.
Prevention Tips
- Use correct batch size: Most 4.5–5L mixers need at least 300g flour for the hook to engage properly.
- Start slow: Always begin on the lowest speed. Increase only once the dough comes together.
- Pause and scrape: If you see dough climbing, stop the mixer and push it down with a spatula.
- Adjust hydration: If dough is very sticky, add flour a tablespoon at a time until it just clears the bowl.
- Lightly oil the hook: Especially for enriched doughs (brioche, hot cross buns), a thin film of vegetable oil on the hook can reduce sticking.
- Check bowl height adjustment: Some mixers (notably KitchenAid) allow you to raise or lower the bowl. Adjust so the hook just clears the bottom.
When Climbing Persists
- For very small batches, hand knead or double the recipe.
- With especially sticky doughs, try the “autolyse” method: mix flour and water, rest for 20 minutes, then add yeast and salt and knead.
- If the problem is chronic, check your hook for coating wear or damage—rough spots can encourage sticking.
Understanding Bowl Size and Dough Capacity
Bowl size is not just about how much dough you can make—it’s about how properly the dough hook can knead. Too little dough and the hook spins in air; too much and the mixer strains.
Typical UK Stand Mixer Bowl Sizes
- 4.3–4.8 litres: Standard for most Kenwood, KitchenAid Artisan, Bosch, and Smeg models. Ideal for 500g–1kg flour (1–2 loaves).
- 6.7 litres: Found on Kenwood Chef XL, KitchenAid Professional, and some commercial models. Handles up to 2kg flour (3+ loaves).
Practical Capacity Guidelines
- Minimum load: 300g flour plus water (enough for a small loaf or batch of rolls).
- Maximum load:
- 4.8L bowl: up to 1kg flour
- 6.7L bowl: up to 2kg flour
Check your manual: Some UK mixers (like the Kenwood Chef Titanium) specify max dough weight—exceeding this can void your warranty.
What Happens If You Overload?
- Dough fails to knead evenly—some stays stuck to the bowl sides.
- Mixer may stall, overheat, or even trip your kitchen fuse.
- Risk of stripping plastic gears (an expensive repair).
Too Little Dough?
- Hook doesn’t reach the dough, so it spins around the bowl.
- Gluten development is uneven, leading to poor rise and dense bread.
- For very small batches (under 300g flour), hand kneading or a bread machine is often better.
For a deep dive on matching bowl size to your baking ambitions, see Stand Mixer Bowl Sizes Explained: What Capacity Do You Need?.
Cleaning and Caring for Dough Hooks
Dough hooks are durable, but neglect can lead to rust, coating damage, or lingering odours. Proper cleaning ensures longevity and food safety.
Cleaning Steps
- Remove immediately: Take the hook off as soon as you finish kneading. Dried dough is much harder to clean.
- Hand wash: Use warm water, mild washing-up liquid, and a soft brush or sponge. Avoid abrasive pads on coated hooks.
- Soak if needed: For stubborn dough, soak the hook for 10–15 minutes before scrubbing.
- Dishwasher caution:
- Stainless steel hooks are usually dishwasher safe, but check your manual.
- Coated or aluminium hooks (common on KitchenAid and Kenwood) can lose their finish or discolour in the dishwasher—hand wash only.
- Dry thoroughly: Prevent rust, especially on non-stainless hooks, by drying immediately with a tea towel.
Dealing with Stubborn Dough
- Use a silicone spatula, wooden skewer, or even a soft toothbrush to dislodge dried bits.
- For hooks with a non-stick coating, avoid anything that could scratch the surface.
- If dough is stuck in crevices, try a short soak in warm water with a drop of lemon juice.
Storage Tips
- Store hooks in a dry, dedicated drawer or hang on a utensil rack.
- Avoid stacking heavy pans or bowls on top of hooks—bending can cause poor mixing and premature wear.
- If your mixer came with a storage case (common with Kenwood Chef Titanium), use it to keep attachments dust-free.
Hygiene Note
- Never use a dough hook with visible cracks, chips, or worn coating. These can harbour bacteria and contaminate your dough.
- If you notice black or grey streaks in your dough, check for worn aluminium or coating—replace the hook promptly.
Preventing Stand Mixer Overheating
Stand mixers are built for tough jobs, but dense doughs or long kneading sessions can push them too far. Overheating risks permanent damage.
Signs of Overheating
- Mixer casing feels hot to the touch, especially near the motor
- Mixer slows down or stalls mid-knead
- Smell of hot plastic or faint burning
- Mixer shuts off unexpectedly (some models have thermal cut-outs)
How to Prevent Overheating
- Use correct speed: Always knead on speed 2 or lower.
- Respect capacity limits: Don’t exceed the recommended flour weight.
- Rest between batches: If making multiple loaves, let the mixer cool for at least 15 minutes between sessions.
- Monitor kneading time: For doughs needing long mixing (e.g., enriched doughs), pause the mixer after 8–10 minutes to check dough and allow the motor to cool.
- Room temperature: If your kitchen is very warm (common in UK summers or after using the oven), the mixer will heat up faster.
What To Do If Your Mixer Overheats
- Turn off and unplug immediately.
- Let it cool for at least 30 minutes before restarting.
- If it repeatedly overheats on normal batches, contact the manufacturer—there may be a fault or the mixer may not be powerful enough for your needs.
UK Mixer Edge Cases
- Budget mixers (e.g., entry-level Russell Hobbs or Morphy Richards) may struggle with dense doughs—limit to lighter recipes or smaller batches.
- Premium models (KitchenAid Artisan, Kenwood Chef XL Titanium) are designed for frequent bread making, but still need rest between heavy loads.
Which Stand Mixer Models Use Which Hook?
The type of dough hook supplied with your mixer can affect your results. Here’s what you’ll find with popular UK models and where to get replacements.
UK Brand Compatibility Quick Guide
Compatibility changes by model, but these are the usual dough-hook patterns on common UK stand mixers. Check the manual before buying replacement hooks, especially for older or imported machines.
- KitchenAid Artisan and Classic tilt-head: Usually supplied with a coated or stainless steel spiral hook; Mini models use a C hook, while bowl-lift models usually use a spiral hook. KitchenAid’s dough hook guide explains the main differences.
- Kenwood Chef, Chef XL and Titanium: C hook as standard on many models; spiral hooks appear on some Chef XL Titanium machines or as accessories. kMix models usually use a C hook.
- Bosch MUM Series: C hook as standard, with spiral hooks generally not available for these models.
- Smeg stand mixers: C hook as standard, usually stainless steel and best hand-washed.
- Swan, Morphy Richards and Russell Hobbs: Usually C hooks, sometimes with non-stick coatings. Check spares through the manufacturer, Currys or Argos before assuming another brand’s hook will fit.
Tip: If you are upgrading, check which hook is included in the box. Spiral hooks are often reserved for higher-end machines or sold separately.
Edge case: Some imported mixers, especially US-spec models, can have non-UK fittings. Confirm compatibility before ordering replacement hooks or attachments.
Frequently Asked Questions
Can I knead all types of dough in a stand mixer? Most bread, pizza, and enriched doughs work well in a stand mixer, provided you use the correct hook and don’t exceed the mixer’s capacity. Very stiff doughs (bagels, pretzels) require a spiral hook and a powerful motor. For very small batches (under 300g flour), hand kneading or a bread machine may give better results.
Why does my dough hook not reach the bottom of the bowl? Some mixers are designed with a small gap to prevent scratching the bowl. If too much dough is left unmixed, check if your mixer has a bowl height adjustment (common on KitchenAid and Kenwood). If not, try increasing your batch size, or pause to scrape down the bowl during kneading.
Can I use the dough hook for mixing cake batter or cookie dough? No. The dough hook is optimised for gluten development, not for creaming butter and sugar. For cakes, biscuits, and batters, use the paddle (beater) attachment. For more on this, see Stand Mixer Attachments Explained: What Each One Does.
Is it safe to leave my stand mixer unattended while kneading? It’s not recommended. Dough can climb the hook, causing the mixer to strain or walk across the counter. Always supervise, especially with heavy batches or new recipes.
How do I know if my dough is over-kneaded in the mixer? Over-kneaded dough feels tough, tears easily, and loses its elasticity. The finished loaf will be dense with a tight crumb. To avoid this, stop kneading as soon as the dough passes the windowpane test, and always check before the maximum suggested time.
Bottom Line
Before you start your next batch of dough, run through this practical checklist for stand mixer success:
- Select the right hook: Match your dough type and batch size to the C or spiral hook your mixer supports. Refer to your manual or the KitchenAid dough hook guide for specifics.
- Set the correct speed: Always knead on low (speed 2 or equivalent) to protect both dough and mixer. For detailed timing, see KitchenAid UK kneading time and speed.
- Check bowl size and capacity: Ensure your batch fits your mixer’s bowl—too little or too much dough leads to poor results. For guidance, see Stand Mixer Bowl Sizes Explained: What Capacity Do You Need?.
- Monitor dough texture: Pause to check elasticity and use the windowpane test. Adjust hydration or flour as needed.
- Prevent dough climbing: Start slow, scrape down the bowl, and oil the hook for sticky doughs.
- Avoid overheating: Rest your mixer between heavy batches and never exceed recommended loads.
- Clean and inspect hooks: Hand wash coated hooks, dry thoroughly, and replace if damaged.
- Use the right attachment for the job: Only use the dough hook for bread and yeast doughs; switch to the paddle for cakes and cookies.
By following these steps and referring to resources like stand mixer bread recipes and stand mixer attachments explained, you’ll get the most from your stand mixer and achieve consistent, bakery-quality results at home. Practice, observation, and a willingness to adjust will turn your mixer into your most reliable baking partner.