There’s a particular smell that takes over your kitchen when bread is baking — warm, yeasty, slightly sweet — and it makes your entire house feel like a different place. The problem is getting there. Hand-kneading bread dough for ten minutes is genuinely hard work. Your arms ache, the dough sticks to everything, and by the time you’re done you’ve questioned whether a £1.20 loaf from Tesco was really that bad after all.
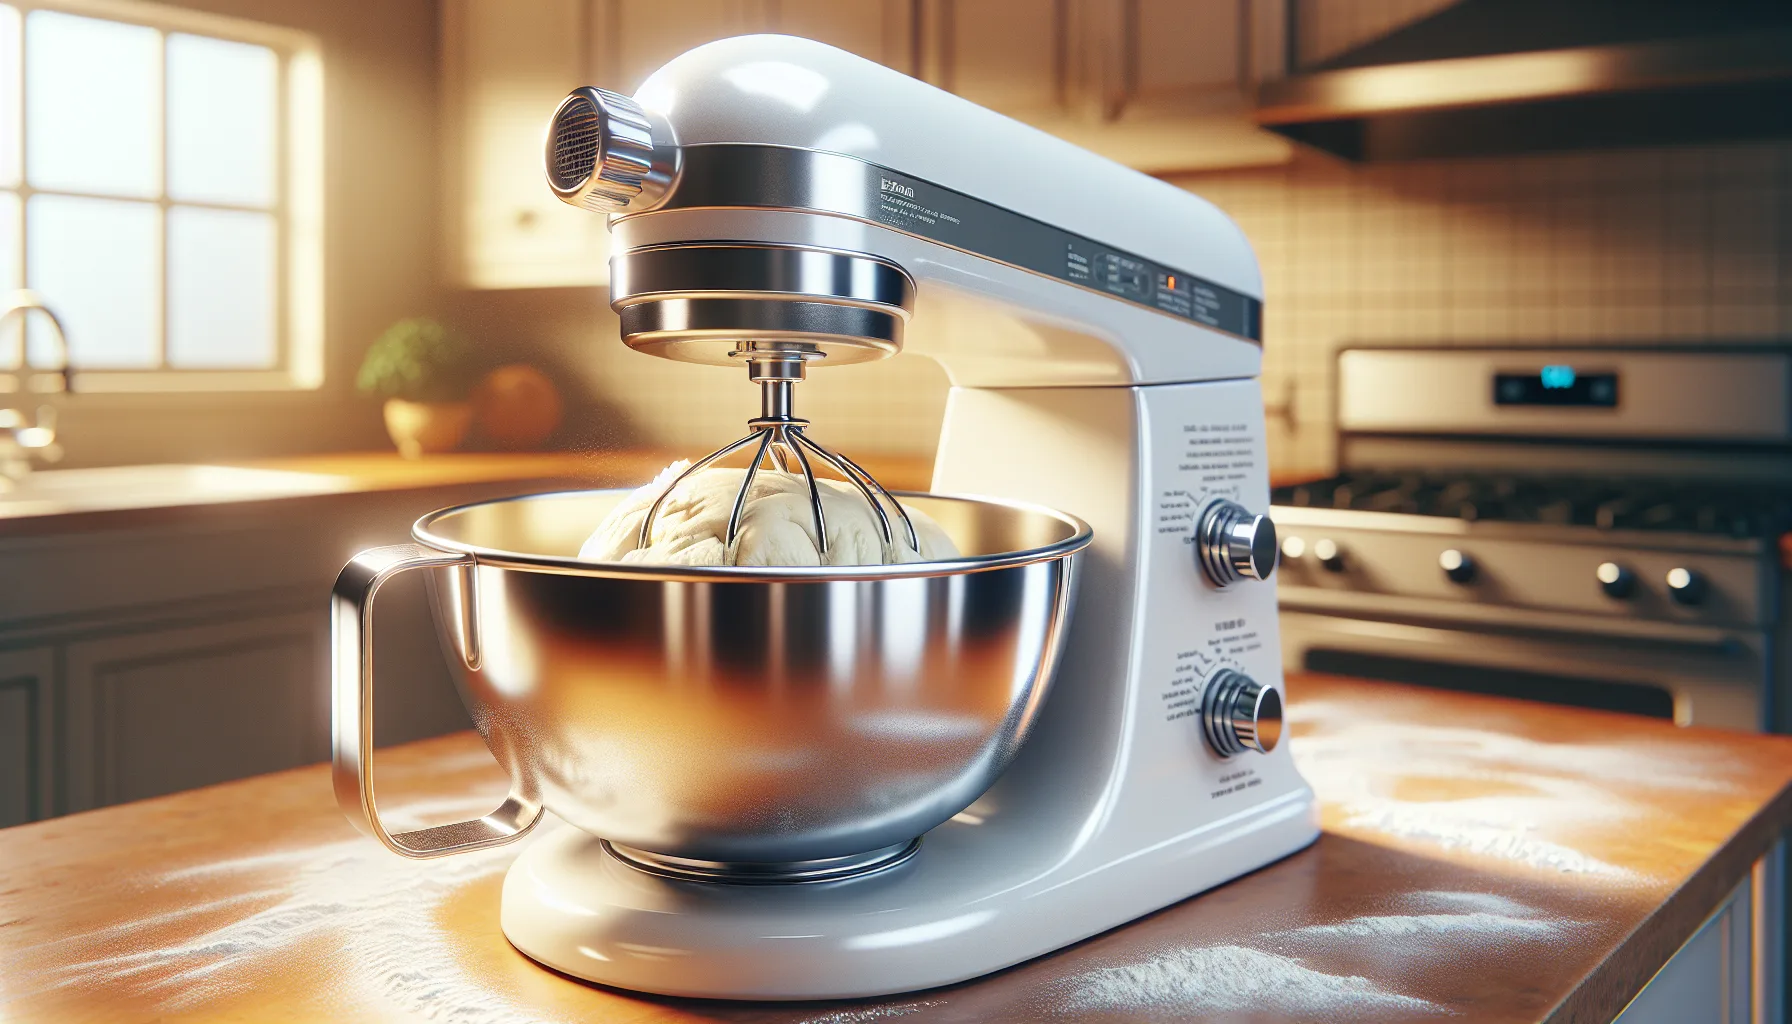
A stand mixer changes all of that. It handles the kneading while you stand there drinking tea and pretending you’re on Bake Off. But here’s the thing nobody tells you: using a stand mixer for bread isn’t quite the same as hand-kneading. The timings are different, the techniques have quirks, and getting it wrong can overwork the dough or burn out your mixer’s motor. I’ve been making bread with a stand mixer for over two years now — probably a hundred loaves at least — and I’ve made every mistake worth making so you don’t have to.
This guide covers everything from choosing the right mixer attachments to troubleshooting the most common problems, with specific recipes you can follow today.
In This Article
- What You Need to Get Started
- Choosing the Right Dough Hook
- Basic White Bread Loaf Recipe
- The Kneading Process Explained
- Wholemeal Bread with a Stand Mixer
- Enriched Doughs: Brioche and Milk Bread
- The Proving Stage
- Shaping Your Loaf
- Baking Temperatures and Times
- Troubleshooting Common Bread Problems
- Tips for Better Bread Every Time
- Frequently Asked Questions
What You Need to Get Started
Before you touch any flour, make sure you’ve got the right kit. Bread-making doesn’t require much, but what you do need matters.
Essential Equipment
- Stand mixer with dough hook — any mixer with at least 300W motor will handle standard bread dough. The KitchenAid Classic (about £350 from John Lewis), Kenwood Prospero+ (about £200 from Currys), or Sage The Bakery Boss (about £330 from Lakeland) all work well. If you’re unsure about bowl sizes, a 4.5-litre bowl handles a single loaf comfortably
- Digital kitchen scales — bread is chemistry, and guessing weights is a recipe for inconsistency. The Salter Arc Digital Scales (about £15 from Argos) are accurate and reliable
- Large mixing bowl — for proving, separate from your mixer bowl
- Loaf tin — a standard 2lb/900g tin for sandwich-style loaves. Non-stick or silicone
- Wire cooling rack — bread must cool on a rack or the bottom goes soggy from steam
- Clean tea towel or cling film — for covering dough during proving
Ingredients for Basic Bread
- Strong bread flour — not plain flour. Strong flour has higher protein (typically 12-14%), which creates the gluten network that gives bread its structure. Allinson’s and Marriages are solid UK brands available in most supermarkets
- Instant/fast-action yeast — the type that mixes directly into flour. Allinson Easy Bake and Doves Farm Quick Yeast are both reliable. One 7g sachet makes one standard loaf
- Salt — fine table salt dissolves best. About 1 teaspoon (5-6g) per loaf. People with coeliac disease need to use gluten-free flour blends instead — standard bread flour is not suitable
- Water — lukewarm, around 37°C. Too hot kills the yeast, too cold slows it down. Test with your finger — it should feel like a warm bath
- A little oil or butter — optional but improves texture and shelf life
Choosing the Right Dough Hook
Not all dough hooks are equal, and using the wrong one (or the wrong technique) is a common mistake.
C-Hook vs Spiral Hook
Most mixers come with a C-shaped dough hook. It works by stretching and folding the dough as it rotates. It’s the standard and handles most bread recipes perfectly well.
Some higher-end Kenwood and Bosch mixers come with a spiral hook, which is more efficient at kneading — it develops gluten faster with less heat buildup. If you have one, you’ll need slightly less kneading time (reduce by about 2 minutes from the times I give below).
The Right Speed
This is crucial. Bread dough should be kneaded at speed 2 on most mixers (KitchenAid) or the equivalent low-medium setting. I cannot stress this enough — going above speed 2 with bread dough is how you kill a mixer motor. The dough puts enormous strain on the motor, especially in the early stages when it’s thick and sticky. Speed 2 gives the dough enough movement to develop gluten without overheating the motor or the dough.
I learned this the hard way when I ran my first mixer at speed 4 trying to “speed things up.” The motor overheated, the thermal cutout tripped, and I had to wait twenty minutes for it to cool down while my half-kneaded dough sat there looking disappointed.
Preventing “Walking”
Stand mixers have a habit of slowly creeping across the worktop during heavy dough kneading. The suction cups on the bottom help, but for really stiff doughs, you might need to hold the mixer in place. Some people put a damp cloth under the mixer for extra grip — it works, but it’s a sign you might be overloading the bowl capacity.
Basic White Bread Loaf Recipe
This is the recipe I come back to most often. It’s forgiving, produces a consistent result, and teaches you all the fundamentals.
Ingredients
- 500g strong white bread flour (plus extra for dusting)
- 7g instant yeast (one sachet)
- 8g salt (about 1½ teaspoons)
- 300ml lukewarm water (around 37°C)
- 1 tablespoon olive oil (optional)
Method
- Add the flour, yeast, and salt to your mixer bowl. Keep the salt and yeast on opposite sides of the bowl — salt can kill yeast if they sit together before mixing
- Fit the dough hook and start mixing on speed 1 for 1 minute, slowly pouring in the water (and oil if using) as it runs
- Once the dough comes together into a rough mass, increase to speed 2
- Knead for 8-10 minutes on speed 2. The dough should become smooth, elastic, and pull away from the sides of the bowl cleanly
- Stop the mixer and perform the windowpane test (see below). If the dough tears rather than stretching thin, knead for another 2 minutes and test again
- Remove the dough from the bowl, shape it into a ball, and place it in a lightly oiled large bowl
- Cover with a damp tea towel or cling film and leave in a warm spot to prove for 1-1.5 hours, until doubled in size
- Knock the air out of the dough by pressing it down gently, then shape it to fit your loaf tin
- Place in the greased tin, cover again, and prove for another 30-45 minutes until risen just above the rim of the tin
- Bake at 220°C (200°C fan) for 25-30 minutes until golden brown and the loaf sounds hollow when tapped on the bottom
The Windowpane Test
Pinch off a small piece of dough and gently stretch it between your fingers. If you can stretch it thin enough to see light through it without it tearing, the gluten is properly developed and the dough is ready. If it tears, keep kneading. This test saves guesswork and becomes second nature after a few bakes.
The Kneading Process Explained
Understanding what kneading actually does helps you troubleshoot when things go wrong.
What’s Happening in the Bowl
When flour meets water, two proteins — glutenin and gliadin — combine to form gluten. Kneading aligns these gluten strands into a stretchy network that traps the carbon dioxide produced by the yeast. That’s what makes bread rise and gives it that satisfying chewy texture.
Under-Kneading vs Over-Kneading
- Under-kneaded dough — feels rough, tears easily, hasn’t formed a smooth ball. The bread will be dense, crumbly, and won’t rise properly
- Properly kneaded dough — smooth, elastic, bounces back when poked, passes the windowpane test
- Over-kneaded dough — tight, difficult to shape, tears when stretched. The gluten has been developed too far and has lost its elasticity. With a stand mixer, this typically happens after 15+ minutes at speed 2, or much sooner at higher speeds
A stand mixer kneads faster than hands — what takes 10-15 minutes by hand takes about 8-10 minutes in a mixer. Check the dough regularly from the 6-minute mark.
Temperature Matters
Stand mixers generate friction, which heats the dough. Warm dough proves faster but can also over-prove if you’re not paying attention. Ideally, your finished dough should be around 25-27°C. If your kitchen is warm, use slightly cooler water to compensate.
Wholemeal Bread with a Stand Mixer
Wholemeal flour behaves differently to white flour, and the technique needs adjusting.
Key Differences
- Higher water absorption — wholemeal flour soaks up more water. Use 320-340ml per 500g of flour instead of the 300ml for white bread
- Heavier dough — puts more strain on the mixer. Keep to speed 1-2 and don’t overload the bowl
- Less rise — the bran in wholemeal flour cuts through gluten strands, so expect a denser, shorter loaf. That’s not a fault — it’s the nature of wholemeal bread
- Longer kneading — allow 10-12 minutes on speed 2
Half-and-Half Loaf
If pure wholemeal is too dense for your taste, try 250g strong white flour mixed with 250g wholemeal. This gives you the flavour and nutrition of wholemeal with a lighter, more open texture. It’s my go-to recipe for everyday sandwiches — more interesting than pure white, less heavy than full wholemeal.
The Real Bread Campaign advocates for bread made with real ingredients and traditional methods, and wholemeal bread made at home with nothing but flour, water, yeast, and salt is about as “real” as it gets. No preservatives, no emulsifiers, no mysterious “flour treatment agents” — just proper bread.
Recipe Adjustment
Follow the basic white bread recipe above, but:
- Replace all or half the white flour with wholemeal strong flour
- Increase water to 320ml for half-and-half, or 340ml for full wholemeal
- Add 1 tablespoon of honey or black treacle for a deeper flavour (optional)
- Increase kneading time by 2-3 minutes
- Expect a longer proving time — up to 2 hours for the first prove
Enriched Doughs: Brioche and Milk Bread
Once you’ve mastered basic bread, enriched doughs are the next level. These include butter, eggs, milk, or sugar — and they’re what give you soft, pillowy bread like brioche, milk buns, and hot cross buns.
Why Enriched Dough is Different
Fat and sugar both slow down gluten development. That means enriched doughs need more kneading — often 12-15 minutes in a stand mixer. The dough will look messy and sticky for much longer before it comes together into a smooth ball. Don’t panic. Keep the mixer running at speed 2 and trust the process.
Basic Brioche Recipe
- 350g strong white bread flour
- 7g instant yeast
- 5g salt
- 40g caster sugar
- 4 large eggs (at room temperature)
- 175g unsalted butter (softened, cut into small cubes)
Method
- Combine flour, yeast, salt, and sugar in the mixer bowl with the dough hook
- Add the eggs and mix on speed 1 until a rough dough forms
- Increase to speed 2 and knead for 8 minutes — the dough will be sticky and wet. That’s normal
- With the mixer running, add the butter one cube at a time, waiting for each piece to incorporate before adding the next
- Once all butter is added, continue kneading on speed 2 for 5-7 more minutes until the dough is smooth, shiny, and pulls away from the bowl
- Transfer to a bowl, cover with cling film, and refrigerate for at least 4 hours or overnight. Cold enriched dough is much easier to shape
- Shape as desired — individual rolls, a loaf tin, or a braided loaf
- Prove at room temperature for 1.5-2 hours until puffy (not necessarily doubled)
- Brush with egg wash (1 egg beaten with 1 tablespoon milk)
- Bake at 180°C (160°C fan) for 20-25 minutes until deep golden brown
The butter addition is where people give up — it looks like soup for a few minutes. Keep going. The dough comes back together and becomes this beautifully silky, elastic ball that’s a joy to work with.
The Proving Stage
Proving (or proofing) is where the yeast does its work, and it’s the step that catches beginners out most often.
First Prove (Bulk Fermentation)
After kneading, the dough needs to rest in a warm spot until it doubles in size. This usually takes 1-1.5 hours at room temperature (about 20-22°C). A warm kitchen speeds this up; a cold one slows it down.
Where to Prove
- Airing cupboard — if you have one, this is the classic spot. Warm, enclosed, and out of the way
- Oven with just the light on — many oven lights generate enough warmth (around 28-30°C) to create a perfect proving environment
- Near a radiator — but not directly on top. You want gentle warmth, not a hot surface
- Microwave trick — boil a mug of water, place it in the microwave with your covered dough bowl, and close the door. The steam and warmth create a little proving chamber
How to Tell When It’s Proved
Size isn’t the only indicator. Press the dough gently with your finger:
- Springs back quickly — needs more time
- Springs back slowly, leaving a slight indent — ready
- Doesn’t spring back at all — over-proved
Over-Proving
If dough over-proves, it collapses and the bread comes out flat, dense, and slightly sour. It’s the most common reason for failed loaves. If you think your dough has over-proved, gently knock it back, reshape it, and give it a shorter second prove. It won’t be perfect but it’ll still be edible.
Shaping Your Loaf
Shaping affects how the bread bakes, how it looks, and how the crumb (interior structure) develops.
Tin Loaf
The simplest shape. Roll the proved dough into a tight cylinder roughly the length of your tin. Tuck the ends under and place seam-side down in a greased tin. This gives you a classic sandwich loaf with an even crumb.
Round (Boule)
Cup the dough ball with both hands and rotate it on your worktop, tucking the edges under to create surface tension. Place on a floured baking tray or in a proving basket. This shape is great for crusty artisan-style loaves.
Shaping Tips
- Use less flour than you think. A slightly sticky surface gives you more grip for shaping. Too much flour and the dough slides around
- Work quickly. The more you handle the dough, the more gas you push out
- Surface tension is key. The outside of the loaf should feel taut, like a filled balloon. This tension is what helps the bread spring upward in the oven rather than spreading sideways
Baking Temperatures and Times
Getting the bake right is the difference between a golden, crusty loaf and a pale, doughy disappointment.
Standard Temperatures
- White bread — 220°C (200°C fan) for 25-30 minutes
- Wholemeal bread — 210°C (190°C fan) for 30-35 minutes
- Enriched bread (brioche, milk bread) — 180°C (160°C fan) for 20-25 minutes (lower because the sugar and butter brown faster)
- Rolls — same temperature as the parent recipe but 12-18 minutes depending on size
Steam for Crust
Professional bakeries inject steam into their ovens to create a crackly crust. At home, you can approximate this by placing a roasting tray on the bottom shelf of the oven and pouring in a mugful of boiling water just after you put the bread in. The steam keeps the surface moist for the first few minutes, allowing the loaf to expand before the crust sets. I do this for every white loaf and the crust improvement is noticeable from your very first attempt.
The Hollow Tap Test
Turn the baked loaf out of its tin and tap the bottom. A fully baked loaf sounds hollow, like knocking on a wooden door. A doughy, under-baked loaf sounds dull and heavy. If in doubt, put it back in the oven (without the tin) for another 5 minutes.
Cooling
This is the hardest part — waiting. Fresh bread needs at least 30 minutes on a wire rack before cutting. The inside is still cooking from residual heat, and cutting too early lets steam escape, leaving you with a gummy interior. I know the temptation. Fight it. Well, mostly. The occasional hot slice with too much butter is one of life’s great pleasures.
Troubleshooting Common Bread Problems
Dense, Heavy Loaf
- Not enough kneading — the gluten network wasn’t developed enough to trap gas
- Yeast was dead — check expiry dates, and make sure your water wasn’t too hot (above 45°C kills yeast)
- Not enough proving time — especially in cold kitchens
Loaf Rose Then Collapsed
- Over-proved — the gluten structure stretched too far and couldn’t hold the gas
- Oven too cool — the loaf didn’t set quickly enough. Use an oven thermometer to check your oven’s actual temperature (many are 10-20°C off)
Gummy Interior
- Under-baked — use the tap test and don’t be afraid to leave it in longer
- Cut too soon — let it cool fully on a rack before slicing
- Too much water — reduce water by 10-20ml next time
Crust Too Thick and Hard
- Baked too long — reduce time by 5 minutes next attempt
- Too much steam — skip the water tray and see if it improves
- Oven too hot — drop temperature by 10°C
Dough Won’t Come Together in Mixer
- Not enough water — add a tablespoon at a time with the mixer running until the dough forms a cohesive ball
- Flour is too old — stale flour loses protein strength. Check it’s within date
- Bowl too large — if the dough is small relative to the bowl, the hook can’t grip it properly. This is common when halving recipes in large mixer bowls
Tips for Better Bread Every Time
Weigh Everything
Measuring flour by cups is wildly inaccurate — a “cup” of flour can vary by 30g depending on how you scoop it. Digital scales take the guesswork out entirely. Weigh your water too (1ml = 1g, so 300ml of water weighs 300g).
Use the Autolyse Method
Before adding yeast and salt, mix just the flour and water and let it sit for 20-30 minutes. This gives the flour time to hydrate fully, which means less kneading and a better texture. I do this for almost every loaf now and the difference in the final crumb is noticeable.
Keep Notes
Write down what you changed and what happened. “Used 310ml water, proved 90 mins, good rise but slightly gummy — try 300ml next time.” After ten loaves you’ll have a personal recipe that’s dialled in for your kitchen, your oven, and your flour.
Buy Good Flour
The flour matters more than anything else. Allinson’s Very Strong Bread Flour is widely available and reliable. If you want to level up, try Marriages or Shipton Mill (available online and from independent food shops). The difference between cheap supermarket flour and a quality brand is visible in the rise and texture. For tips on other kitchen essentials, our guide to choosing the right chopping board covers materials that work well alongside your baking setup.
Temperature Control
Keep a kitchen thermometer handy. Check your water temperature before adding it to the flour (37°C ideal). Check your dough temperature after kneading (25-27°C ideal). Check your oven temperature with an oven thermometer (yours is probably lying to you). These three temperature checks cost about £10 in thermometers and prevent 80% of bread failures.
Keep reading on KitchenGearUK: Best Stand Mixers 2026 UK: KitchenAid, Kenwood & Smeg, Best Bread Makers 2026 UK: Sourdough, Gluten-Free & More, KitchenAid vs Kenwood vs Smeg: Stand Mixer Showdown, Stand Mixer Bread Recipes: From Sourdough to Brioche.
Frequently Asked Questions
Can any stand mixer make bread? Most stand mixers with a dough hook can handle bread dough, but the motor needs to be at least 300W. Budget mixers under 250W may struggle with stiff bread doughs and can overheat. The KitchenAid Classic (300W), Kenwood Prospero+ (1000W), and Sage Bakery Boss (800W) all handle bread well. Always check your mixer’s manual for maximum dough capacity — overloading is the fastest way to burn out a motor.
How long should I knead bread in a stand mixer? For a standard white loaf, 8-10 minutes on speed 2 (or your mixer’s equivalent low-medium setting). Wholemeal dough takes 10-12 minutes, and enriched doughs like brioche can need 12-15 minutes. Always use the windowpane test rather than relying purely on time — different flours and ambient temperatures affect how quickly gluten develops.
Why does my bread taste bland? Almost always a salt issue. Salt does more than add flavour — it controls yeast activity and strengthens gluten. If you’re reducing salt for health reasons, don’t go below 6g per 500g of flour or the bread will taste flat and prove too quickly. Also let your bread cool fully before tasting — warm bread can mask flavour differences.
Can I make bread dough the night before and bake in the morning? Yes — this is called a cold retard. After the first prove, knock back the dough, shape it, place it in its tin, cover with cling film, and refrigerate overnight. In the morning, take it out, let it come to room temperature for 45-60 minutes (it’ll puff up further), then bake as normal. The slow overnight fermentation also develops more complex flavours. It’s my preferred method when I want fresh bread for weekend breakfast without waking at 6am.
Is homemade bread healthier than shop-bought? It can be. Homemade bread typically contains just flour, water, yeast, and salt — four ingredients. Many supermarket loaves contain emulsifiers, preservatives, and processing aids that don’t need to be declared on the label under UK law. The Real Bread Campaign has detailed information about what goes into commercial bread. Whether homemade is “healthier” depends on your recipe, but knowing exactly what’s in your bread is valuable in itself.