Hot soup in a blender is useful, but it is also where most blender mistakes get messy. The safe approach is simple: cool the soup slightly, blend in small batches, vent the lid properly, and never treat a sealed smoothie cup like a soup jug.
In This Article
- Blender Soups Hot Blending Guide: The Safe Short Version
- Which Blenders Can Handle Hot Soup?
- How to Blend Hot Soup Without Splashes
- How Much Soup to Blend at Once
- Texture: Smooth, Chunky or Creamy Without Cream
- Soup Blender Options at UK Prices
- Cleaning the Blender After Soup
- Mistakes That Ruin Blender Soup
- Frequently Asked Questions
Blender Soups Hot Blending Guide: The Safe Short Version
The blender soups hot blending guide version I would give someone in a busy kitchen is this: do not fill the jug, do not seal steam inside, and do not start on full power. Hot liquid expands, steam needs somewhere to go, and thick soup can surge up the jug much faster than a smoothie.
For most home cooks, the safest routine is:
- Take the pan off the heat. Let the soup stop bubbling hard before it goes anywhere near the blender.
- Fill the jug no more than halfway. With thick lentil, squash or potato soup, I would stay closer to one-third full.
- Vent the lid. Remove the centre cap if the blender is designed for that, then cover the opening with a folded tea towel.
- Start low. Pulse once or twice, then move up gradually until the soup is moving cleanly.
- Blend in batches. Tip each batch into a clean pan or heatproof bowl, then combine and reheat gently if needed.
That is slower than throwing the whole pan in at once, but it avoids the classic orange-soup-on-ceiling moment. If you cook soup often, a stick blender is usually calmer for big family pans. A jug blender gives a silkier finish, but it asks for more discipline.
Food safety matters too. If you are saving leftovers, the Food Standards Agency says cooked food should be cooled at room temperature and put in the fridge within one to two hours, rather than left sitting around all evening. That matters with blended soup because a big deep pan cools slowly. Split leftovers into shallow containers once the soup is no longer steaming hard.
What Hot Blending Actually Changes
Cold blending is mostly about blade speed and ingredient order. Hot blending adds pressure, condensation and burn risk. Steam pushes up under the lid, thin liquid splashes more easily than chopped veg, and starch-thickened soup can thump around the jug if the blades catch a dense pocket.
You do not need to be scared of it. You just need to treat hot soup as a different job from smoothies.
Which Blenders Can Handle Hot Soup?
Not every blender is suitable for hot soup. The important question is not just power; it is whether the jug, lid and venting design are meant to handle hot liquid.
Jug Blenders
A full-size jug blender is the best option if you want a very smooth soup. It pulls fibrous veg through a central vortex and can make roasted carrot, tomato, cauliflower or butternut squash soup feel much more polished than a stick blender.
Look for:
- A heat-resistant glass or thermal-safe jug rather than a lightweight bottle-style cup.
- A removable centre cap so steam can escape while you cover the opening with a tea towel.
- A low-speed start rather than a machine that leaps straight to high power.
- A wide base that lets thick soup circulate without constant scraping.
If you already own a high-powered jug blender, check the manual before using hot liquid. Some manufacturers allow warm or hot ingredients with a vented lid; others tell you not to blend hot liquid at all. That is not small print to ignore.
KitchenGearUK already has a broader guide to how to choose a blender for smoothies, but soup changes the priority order. For smoothies, cup convenience and ice-crushing are useful. For soup, venting and jug design matter more.
Soup Makers
A soup maker is a blender with a heating element. You add chopped ingredients and stock, select smooth or chunky, and it cooks and blends in one appliance. They suit people who want low-effort lunches, especially in small kitchens where washing one jug is better than using a saucepan, blender and sieve.
The downside is control. Browning onions in a pan gives deeper flavour than dropping everything raw into a soup maker. Capacity is also limited: many are around 1.2-1.7 litres, which is fine for two to four portions but tight for batch cooking.
Stick Blenders
A stick blender is the least fussy option for big pans. You blend directly in the saucepan, so there is no hot transfer and less washing up. It will not usually make soup as glossy as a Vitamix-style jug blender, but it is good enough for leek and potato, lentil, pea, tomato, mushroom and most weeknight soups.
The trick is to use a tall pan and keep the blade head fully submerged. If the bell guard breaks the surface, it spits.
Personal Blenders
Personal blenders are usually wrong for hot soup. Those sealed cups are made for smoothies, shakes and cold sauces. Put hot liquid in a sealed cup and you create pressure with nowhere sensible to go. Even if the motor can handle soup, the vessel may not.
Use a personal blender only if the manual explicitly allows warm soup and gives a safe fill limit. Otherwise, keep it for smoothies and use a pan plus stick blender.
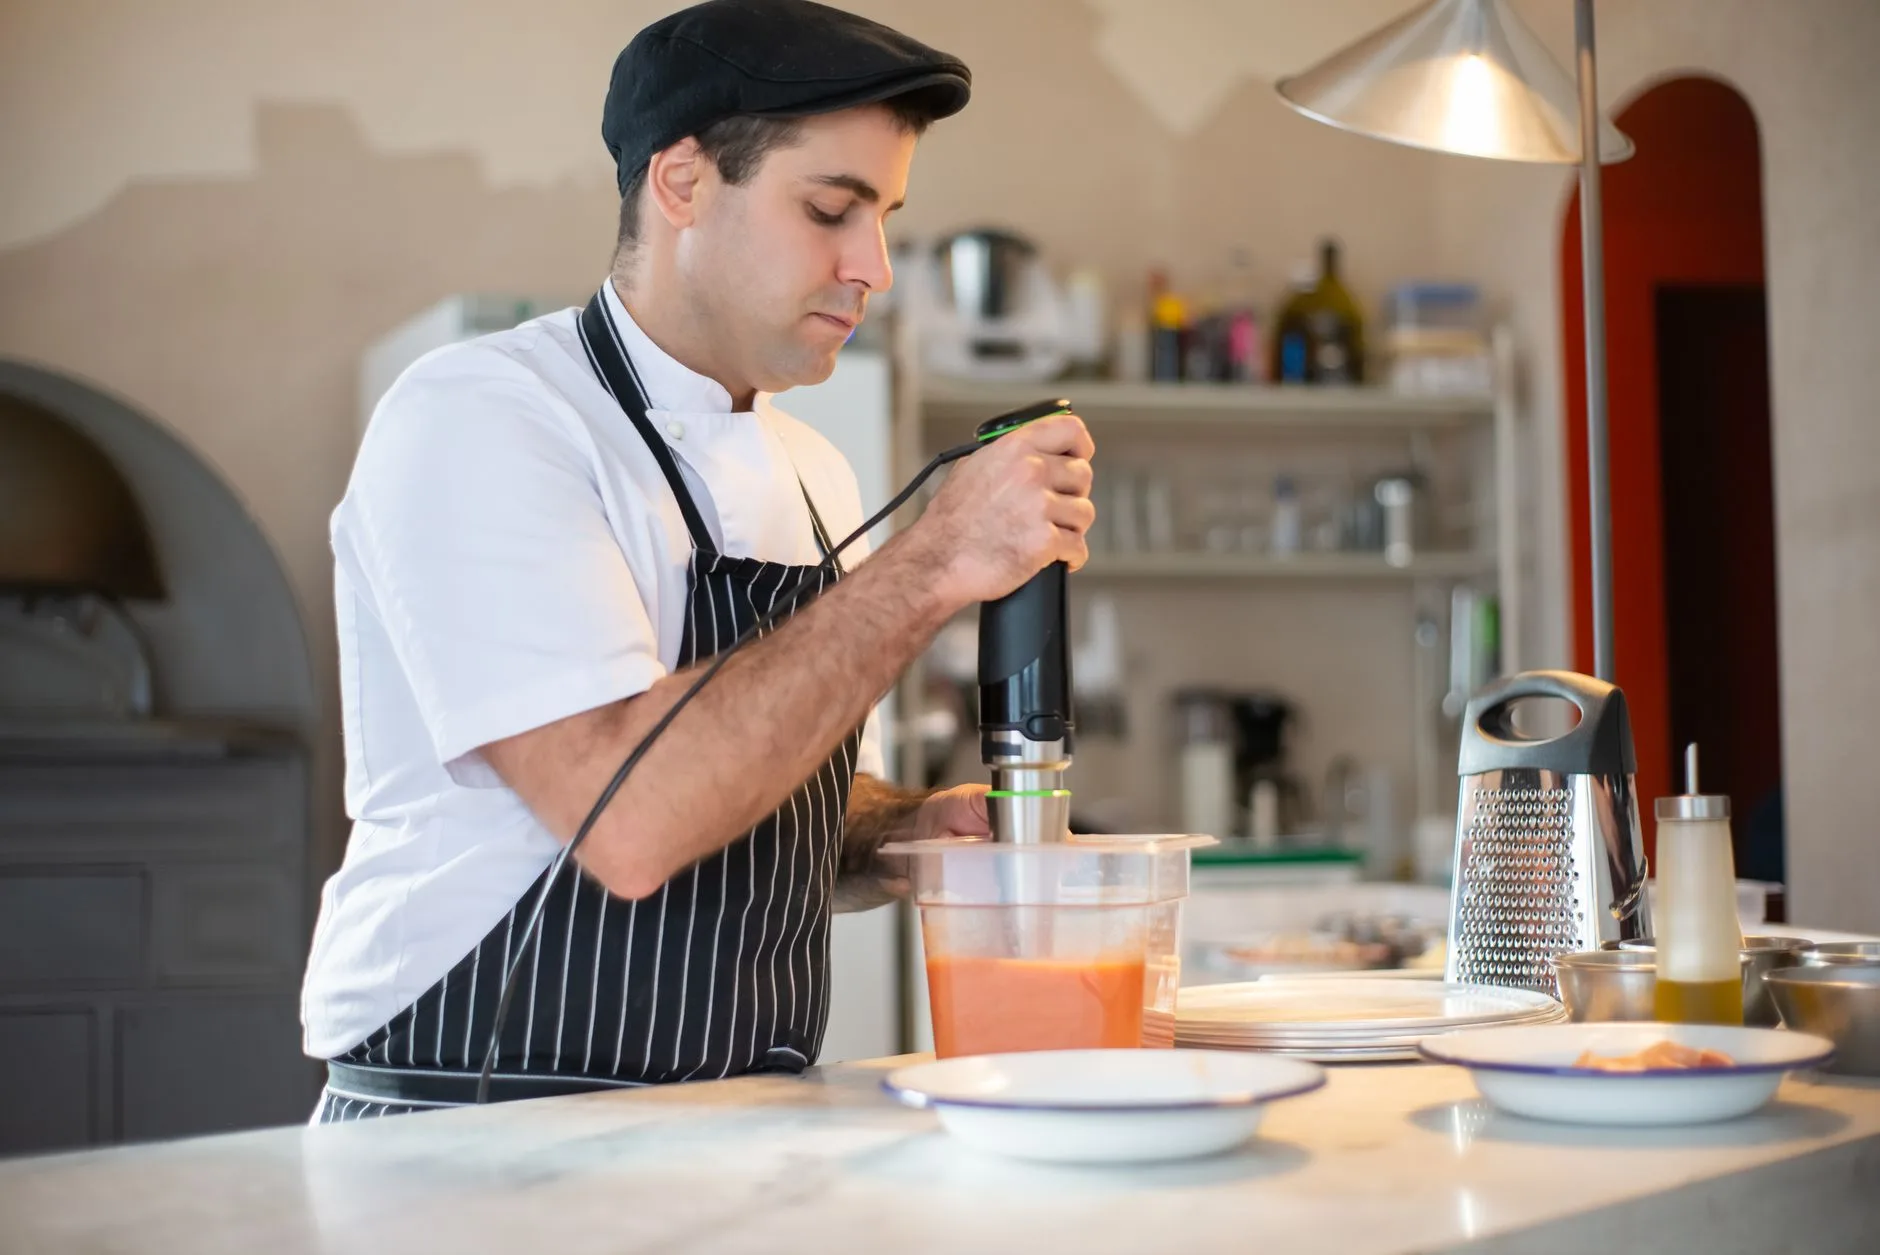
How to Blend Hot Soup Without Splashes
The safest method starts before the blender is switched on. A soup that has just boiled is too aggressive for most home blenders, especially if it is thick with potatoes, beans, lentils or cream.
Cool Briefly, But Do Not Forget It
Let the soup sit off the heat for five to ten minutes while you clear the worktop and set up the blender. You are not trying to make it cold. You are letting the most violent steam settle so the first pulse is less dramatic.
If the soup is for later, blend it, portion it, then cool it properly. Do not leave a lidded pan of hot soup on the hob for hours. The FSA guidance on chilling food is clear enough: cool and refrigerate in good time.
Vent the Lid Correctly
On a vented jug blender, remove the small centre cap and cover the hole with a folded tea towel. Hold the towel and lid down with one hand. The towel stops splashes; the open vent lets steam escape.
Do not clamp a sealed lid down and hope the gasket copes. That is asking the steam to lift the lid for you, which it may do with impressive commitment.
Start Slow
A good sequence is:
- Load the softer veg and liquid first. Keep hard roasted edges or dense beans away from the blade until there is enough liquid moving.
- Pulse once or twice. This breaks big chunks without whipping steam through the jug.
- Run low for 10-15 seconds. Watch whether the soup forms a stable vortex.
- Increase speed gradually. Move up only when the soup is circulating, not bouncing.
- Stop before opening. Let the blades fully stop, then lift the lid away from your face.
That method sounds fussy written down, but after a couple of goes it becomes muscle memory. It also saves wiping soup out of the toaster slots, which is a miserable use of anyone’s evening.
How Much Soup to Blend at Once
The fill line on the jug is not the safe fill line for hot soup. A blender might say 1.7 litres, but that does not mean 1.7 litres of steaming parsnip soup should go in at once.
Use the Half-Full Rule
For thin soups, fill the jug no more than halfway. For thick soups, stay nearer one-third. Thick soup traps air pockets, climbs the side of the jug and can surge upwards when the blades catch.
A practical batch size for most domestic jug blenders is 500-700ml. If you are making a 2-litre pan, that means three or four batches. Yes, it is slightly boring. It is still faster than deep-cleaning the kitchen.
Add Liquid Before Power
If the soup is too thick to move, add hot stock, milk, water or reserved cooking liquid before increasing the speed. More power does not fix a stuck vortex; it often just heats the motor and splatters the lid.
For batch cooking, this links neatly with batch cooking and freezing meals efficiently. Blend slightly thicker than you want, freeze in portions, then loosen with stock or milk when reheating.
Keep a Second Pan Ready
Do not pour blended soup back into the pan that still contains unblended chunks unless you are happy to keep guessing the texture. Use a second pan or large heatproof bowl for finished batches. Once all batches are blended, combine them, stir, taste and reheat gently.
That final combine-and-taste step is where soup improves. Salt, acidity and thickness are easier to judge when the whole batch is together.
Texture: Smooth, Chunky or Creamy Without Cream
Soup texture is not just about how long you blend. Ingredients, starch and fat do most of the work.
For Smooth Soup
Roasted squash, carrots, tomatoes and peppers blend beautifully because they soften evenly. Cut everything into similar 2-3cm pieces before cooking, and let tough skins or woody stems go in the compost rather than the blender.
For a smoother finish:
- Blend longer at medium-high speed once the soup is safely moving.
- Add liquid slowly instead of drowning the vegetables early.
- Use a fine sieve only for special cases such as tomato skins or fibrous celery.
- Finish with oil or yoghurt after blending, not before, if you want a cleaner flavour.
A high-speed blender can make soups feel almost restaurant-smooth. If that is your main reason for upgrading, read the site guide to best high-speed blenders in the UK before spending premium money.
For Chunky Soup
Blend only part of the pan. Scoop out a third of the vegetables, blend the rest, then return the chunks. This works well for minestrone-style soups, chunky lentil soup and chicken-and-veg soup where you want body without baby-food texture.
Do not use a jug blender for cooked pasta or rice unless you want paste. Add those after blending.
For Creamy Soup Without Cream
You can get a creamy feel without double cream or cheese. Useful options include:
- Potato: cheap, reliable and good for leek, broccoli and cauliflower soup.
- White beans: about 65p-90p a tin from UK supermarkets and excellent in tomato or roasted pepper soup.
- Red lentils: around £2-£3 per kg and ideal for curry-spiced soups.
- Cashews: more expensive at roughly £8-£12 per kg, but good for dairy-free smooth soups if soaked first.
If you are using a blender because you are already trying to make kitchen gear work harder, this is the same logic as one-pot cooking with the right equipment: use technique before buying another gadget.
Soup Blender Options at UK Prices
This is not a full buying guide, but it helps to know what level of machine suits hot soup.
Budget: Stick Blender, About £15-£40
A basic stick blender from Argos, Tesco, Amazon UK or Currys is the sensible budget choice. Expect to pay around £15-£25 for an own-brand or Russell Hobbs-style model, and £30-£40 for a Braun or Bosch hand blender with a better shaft and attachments.
I would buy this first if you make big pans of soup, have limited cupboard space or mainly want weeknight tomato, lentil and vegetable soups. The finish is less silky, but the safety and convenience are hard to argue with.
Mid-Range: Soup Maker, About £50-£130
Soup makers from Morphy Richards, Tower, Tefal and Ninja usually sit around £50-£130, depending on capacity and offers. A Tefal Easy Soup is often around £80-£110, while basic Morphy Richards models can drop near £55-£70 at Argos or Amazon UK.
Choose a soup maker if you want repeatable lunch portions and do not care about pan browning. It is not the tool for every cook, but for someone who wants carrot and coriander while working from home, it earns its space.
Premium: Hot-Capable Jug Blender, About £130-£450+
A Ninja Foodi hot and cold blender has recently sat around £130-£180 at UK retailers such as Currys, while a Vitamix Explorian E310 is around £429 at John Lewis. Those are very different machines. The Ninja is appealing because it cooks and blends; the Vitamix is the better pure blender if you also make nut butters, sauces, frozen desserts and very smooth soups.
My pick for most UK homes would still be a good stick blender plus a decent saucepan. If you care about ultra-smooth texture, go jug blender. If you want a lunch appliance, go soup maker. If you mostly make smoothies, check the existing NutriBullet and personal blender guide and keep hot soup out of sealed cups.
Cleaning the Blender After Soup
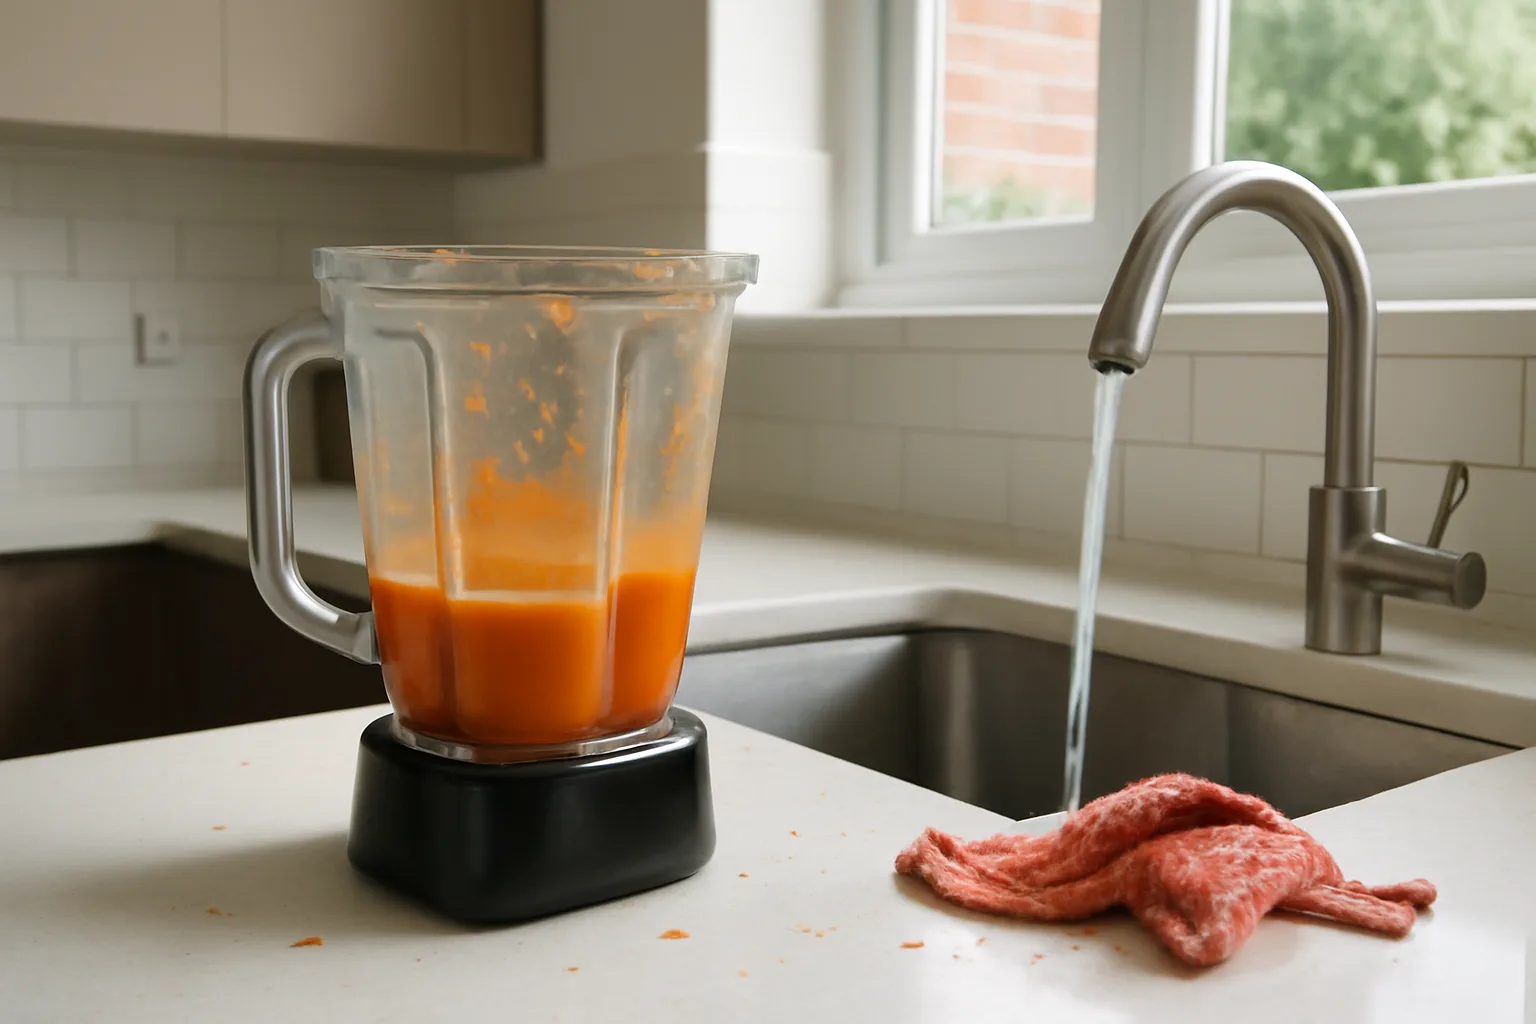
Clean the blender while it is still warm. Dried soup around blade seals is harder to shift, and tomato or turmeric can stain plastic if you leave it overnight.
The Quick Clean Method
Rinse the jug, then add warm water and a small drop of washing-up liquid. Run the blender on low for 20-30 seconds, rinse again, then dry with the lid off. Do not use boiling water for cleaning unless the manual allows it.
For stick blenders, blend warm soapy water in a tall jug, unplug, then wipe around the bell guard carefully. The blade area holds onion fibres and lentil skins more than you think.
Smells and Stains
Carrot, tomato, curry spices and roasted garlic can cling to plastic. A bicarbonate of soda paste helps with stains; a lemon-water blend helps with odour. If the jug is dishwasher-safe, check whether the lid and seal are too. Some lids warp or trap water when washed hot.
This is where broader appliance care pays off. The same habits in deep-cleaning kitchen appliances apply here: clean early, avoid abrasive pads on plastic, and do not soak electrical parts.
Mistakes That Ruin Blender Soup
The same few mistakes cause most bad blender soup.
- Blending too hot and too full: This is the big safety error. Cool briefly, vent, and work in batches.
- Using a sealed personal cup: Smoothie cups are convenient, but hot steam pressure makes them a poor soup choice unless the manual clearly says otherwise.
- Adding all the liquid early: Watery soup tastes thin. Blend thick, then loosen gradually.
- Forgetting acidity: Tomato, squash and lentil soups often need lemon juice, vinegar or yoghurt at the end.
- Over-blending starchy ingredients: Potato and pasta can turn gluey if hammered for too long.
- Leaving leftovers in a deep pan: Portion soup into shallow containers so it cools faster before refrigeration.
A blender is brilliant for soup when it is used with a bit of restraint. The best result is not just smooth; it is smooth without pressure, splashes or a lid that tries to leave the building.
Frequently Asked Questions
Can you put hot soup straight into a blender? You can blend warm or hot soup only if the blender manual allows hot liquids and the lid can vent steam. Even then, let boiling soup calm down first, fill the jug no more than halfway, and start on low speed.
Is a stick blender safer than a jug blender for soup? A stick blender is usually safer for large pans because you do not transfer hot liquid. Keep the blade head submerged and use a deep pan to avoid splashes.
Can I use a NutriBullet for hot soup? Most sealed personal blender cups are not suitable for hot soup because steam pressure can build inside the cup. Check the manual, but the safer answer is to use a stick blender, soup maker or vented jug blender.
How full should a blender be for hot soup? Keep a jug blender no more than half full for thin soup and closer to one-third full for thick soup. Smaller batches blend more safely and usually give a better texture.
Why did my blended soup turn gluey? Potato, pasta and some beans can become gluey when over-blended. Blend only until smooth, add extra liquid gradually, and keep pasta or rice out until after blending.
What is the best blender for soup in the UK? For most homes, a £25-£40 stick blender is the best-value soup tool. Choose a £50-£130 soup maker for easy lunches, or a £130-£450+ hot-capable jug blender if you want very smooth texture.